

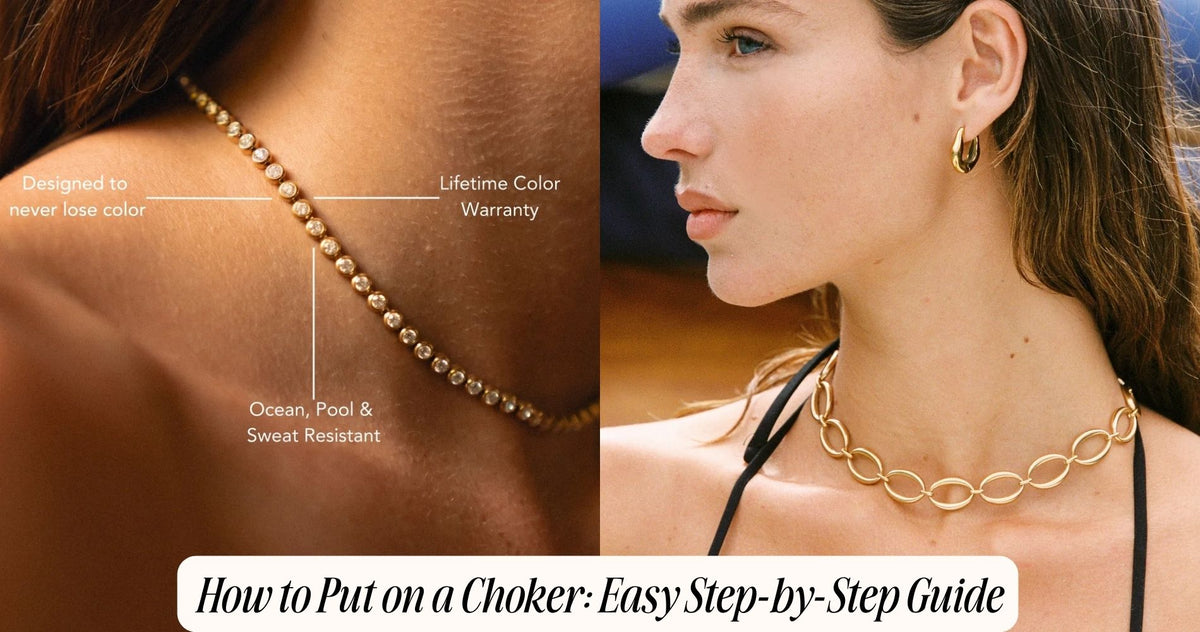
How to Put on a Choker: Easy Step-by-Step Guide
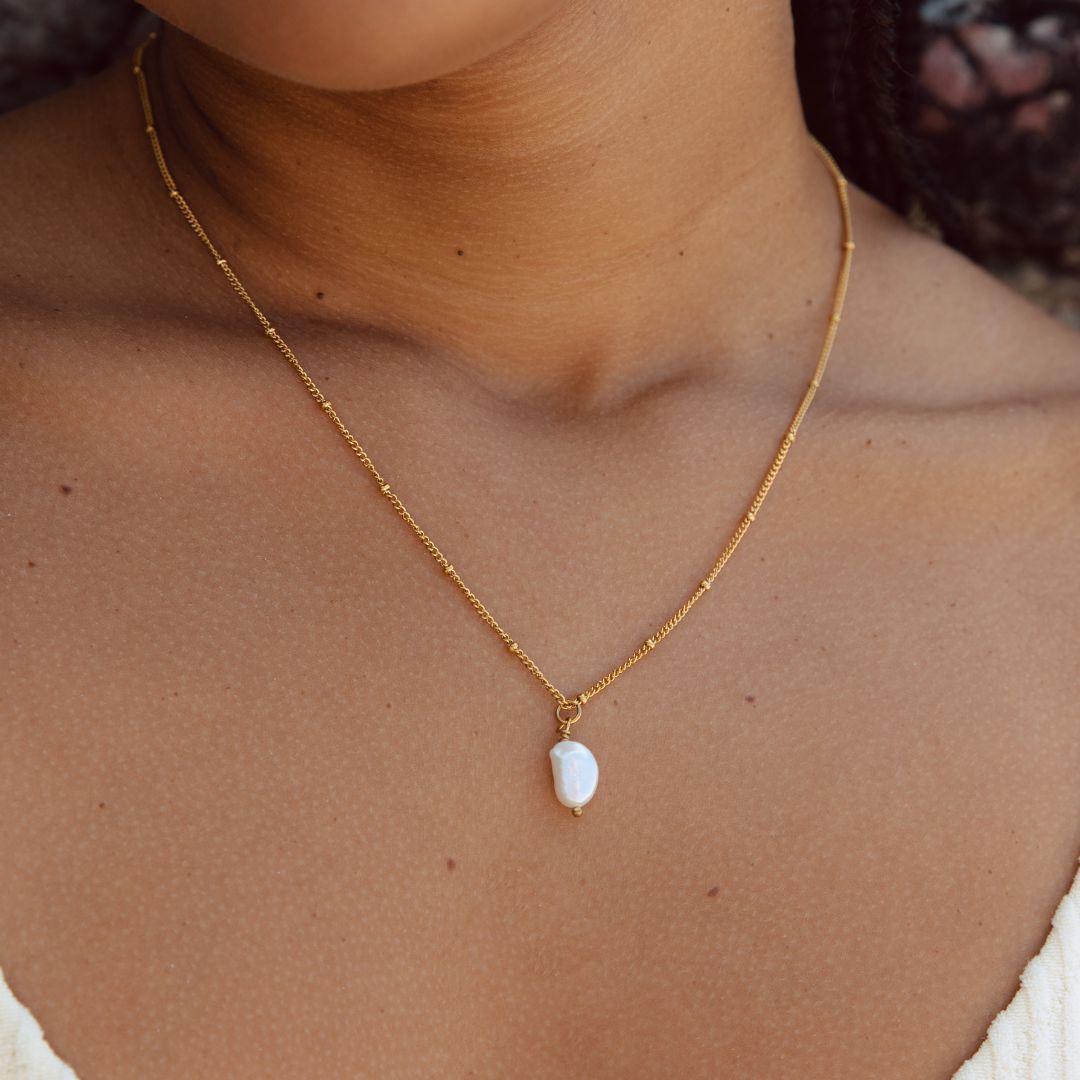
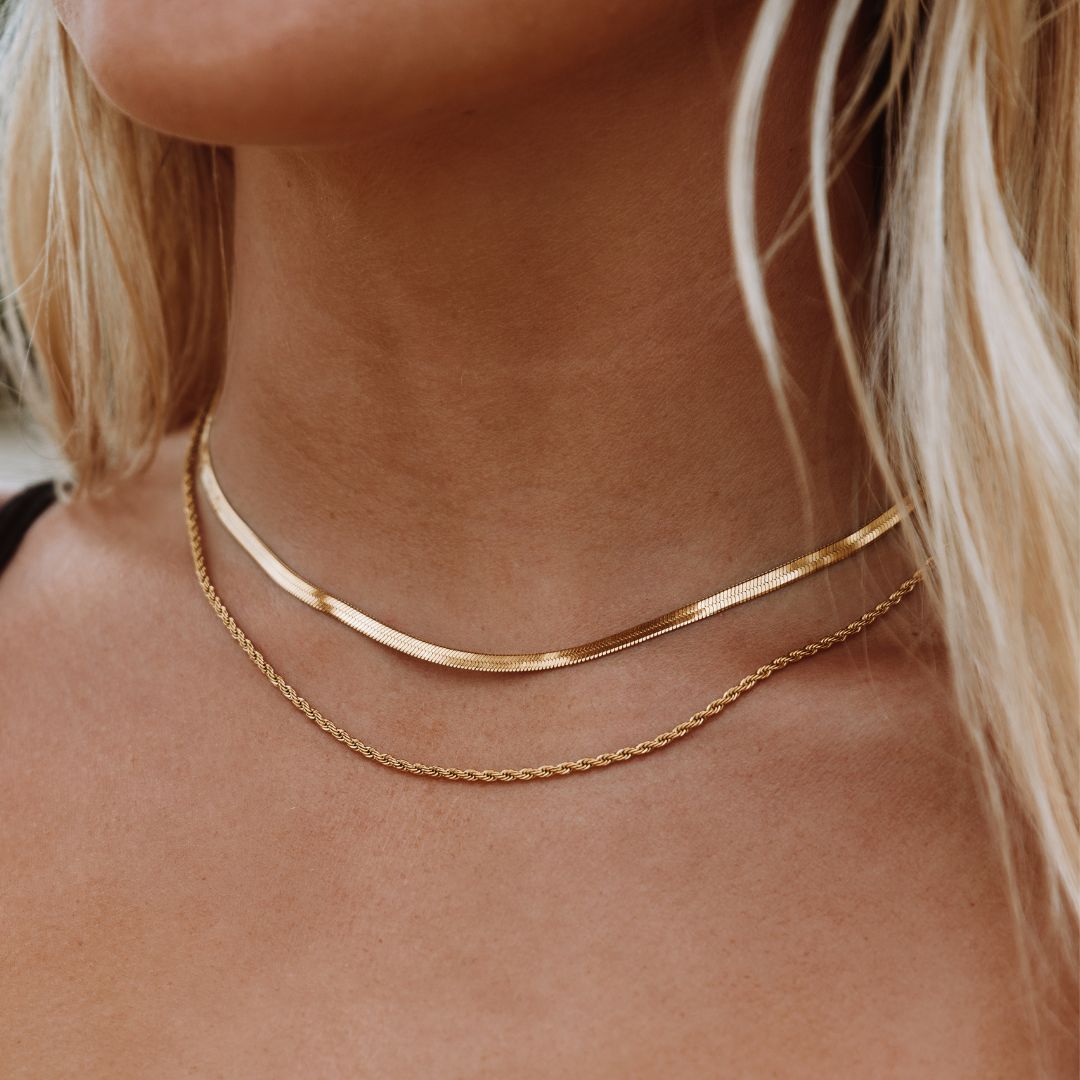
Chokers look effortless once they are on, but putting one on correctly can feel surprisingly tricky, especially with smaller clasps positioned right at the back of the neck. Knowing how to put on a choker properly makes the process quick and frustration free, whether you are wearing one for the first time or just need a quicker method for your daily routine. If you love this classic, close fitting style, our Dainty Choker Necklaces collection offers delicate, comfortable designs perfect for everyday wear.
In this guide, we will walk through a simple step by step method for putting on a choker, along with tips for different clasp types and getting the right fit.
Understanding Choker Clasp Types
Before putting on a choker, it helps to know which type of clasp your specific piece uses, since this affects the exact technique required. Most chokers use one of a few common clasp styles.
- Lobster clasp: A small, spring loaded clasp shaped somewhat like a lobster claw, commonly used on both chokers and standard necklaces. This style requires pinching a small lever to open the clasp before hooking it onto a jump ring.
- Spring ring clasp: A small, circular clasp with a tiny lever that you press to open a gap, allowing it to hook onto a connecting ring. This style is similar to a lobster clasp but slightly more fiddly due to its smaller size.
- Toggle clasp: A two piece clasp consisting of a bar and a ring, where the bar is threaded through the ring and then turned sideways to secure it in place. This style tends to be easier to manage than smaller spring clasps.
- Magnetic clasp: A clasp that uses magnets to hold the two ends together, requiring no manual opening or closing mechanism at all, simply bringing the two pieces close enough for them to snap together.
- Knowing your choker's specific clasp type helps you anticipate exactly what movements will be needed during the putting on process.

Step 1: Untangle and Prepare the Choker
Before attempting to put on your choker, make sure the chain or band is untangled and the clasp is easily accessible. If it has been stored tangled with other jewelry, gently untangle it first, since fastening a clasp while dealing with knots makes the process more difficult.
Hold the choker up and identify both ends, noting which has the clasp mechanism and which has the connecting ring it attaches to.
Step 2: Drape the Choker Around Your Neck
Lift the choker and drape it loosely around the front of your neck, allowing both ends to hang down toward the back. Position the choker so it sits at a comfortable height, typically snug against the base of the neck, before attempting to fasten the clasp.
For chokers with any front facing design element, such as a pendant or decorative detail, make sure this element is centered at the front of your neck before moving on to fastening the back.
Step 3: Bring Both Ends to the Back of Your Neck
Reach behind your neck with both hands, bringing the two ends of the choker together at the back. This step often feels the most awkward, since you are working with limited visibility, relying mostly on touch to align the clasp and connecting ring correctly.
If you find this step particularly challenging, tilting your head slightly forward can sometimes make it easier to reach behind your neck comfortably, reducing strain on your arms and shoulders during the process.

Step 4: Fasten the Clasp
Once both ends are positioned at the back of your neck, fasten the clasp according to its specific mechanism. For a lobster or spring ring clasp, pinch the small lever to open the clasp, then guide it onto the connecting jump ring, releasing the lever once properly hooked to allow the clasp to close securely. For a toggle clasp, thread the bar through the ring, then turn it sideways so it rests securely against the band rather than slipping back through. For a magnetic clasp, simply bring the two ends close enough together that the magnets pull them into place automatically.
Step 5: Adjust the Position and Fit
After fastening the clasp, gently adjust the choker's position around your neck, making sure it sits evenly and comfortably without twisting. Check that any pendant or decorative element remains centered at the front, and confirm the choker feels snug without being uncomfortably tight.
If your choker has an adjustable extension chain, this is also the time to decide whether you want it worn at its snuggest setting or with a bit of extra length for a slightly looser fit.
Tips for Putting on a Choker Without Help
Many people find chokers more challenging to put on independently compared to longer necklaces, simply due to the limited range of motion involved in reaching the clasp at the back of the neck. A few tricks can make this process easier when putting on a choker alone.
- Use a mirror. Standing in front of a mirror allows you to see your hands' general positioning, even if you cannot see the clasp directly, which can help with overall alignment.
- Try the front clasping method. For particularly difficult clasps, some people find it easier to fasten the choker at the front of the neck first, then rotate the entire piece around until the clasp sits at the back and any pendant or design element is properly centered.
- Ask for a quick hand. If you are getting ready with a friend, partner, or family member nearby, asking for a quick hand with the clasp can save time and frustration, particularly for very small or fiddly clasp mechanisms.

Choosing the Right Choker Fit
Getting the right fit is just as important as mastering the clasping technique itself. A choker should sit snugly at the base of the neck without feeling restrictive or uncomfortable, allowing for natural movement like swallowing, turning your head, or speaking without any pulling or pinching sensation.
If a choker feels too tight, look for a style with an adjustable extension chain, which allows you to customize the fit slightly looser if needed. If a choker consistently feels too loose and shifts out of position throughout the day, sizing down slightly or choosing a style with a more structured band can help maintain a more secure, comfortable fit.
Caring for Your Choker After Wear
Once you have worn your choker for the day, storing it properly helps prevent tangling for next time. Lay it flat or hang it individually rather than tossing it into a drawer with other jewelry, since its short length and delicate clasp can tangle easily with longer necklaces. This small habit makes the next time you put it on significantly easier.

Final Thoughts
Learning how to put on a choker becomes much easier once you understand your specific clasp type and practice the basic steps of positioning, reaching behind your neck, and securing the fastening mechanism. While it may feel a bit awkward at first, particularly without assistance, a few simple tricks like using a mirror or trying the front clasping method can make the process feel much more manageable over time.
With a bit of practice, putting on a choker becomes just as quick and effortless as any other piece in your jewelry collection.
Frequently Asked Questions
1. How do I put on a choker by myself?
Drape the choker around your neck, bring both ends to the back, and fasten the clasp by feel, using a mirror or the front clasping method if the clasp is difficult to reach.
2. What is the front clasping method for putting on a choker?
This involves fastening the clasp at the front of your neck first, then rotating the entire choker around until the clasp sits at the back and any pendant is centered.
3. Why do chokers feel harder to put on than regular necklaces?
Chokers sit closer to the neck with less length to work with, making it harder to see and reach the clasp compared to longer necklaces with more room to maneuver.
4. How should a choker fit around my neck?
A choker should sit snugly at the base of the neck without feeling restrictive, allowing comfortable movement like swallowing, turning your head, or speaking.
5. What should I do if my choker's clasp is too small to manage easily?
Try the front clasping method, use a mirror for guidance, or ask for help if the clasp remains particularly difficult to fasten on your own.






Leave a comment
This site is protected by hCaptcha and the hCaptcha Privacy Policy and Terms of Service apply.