
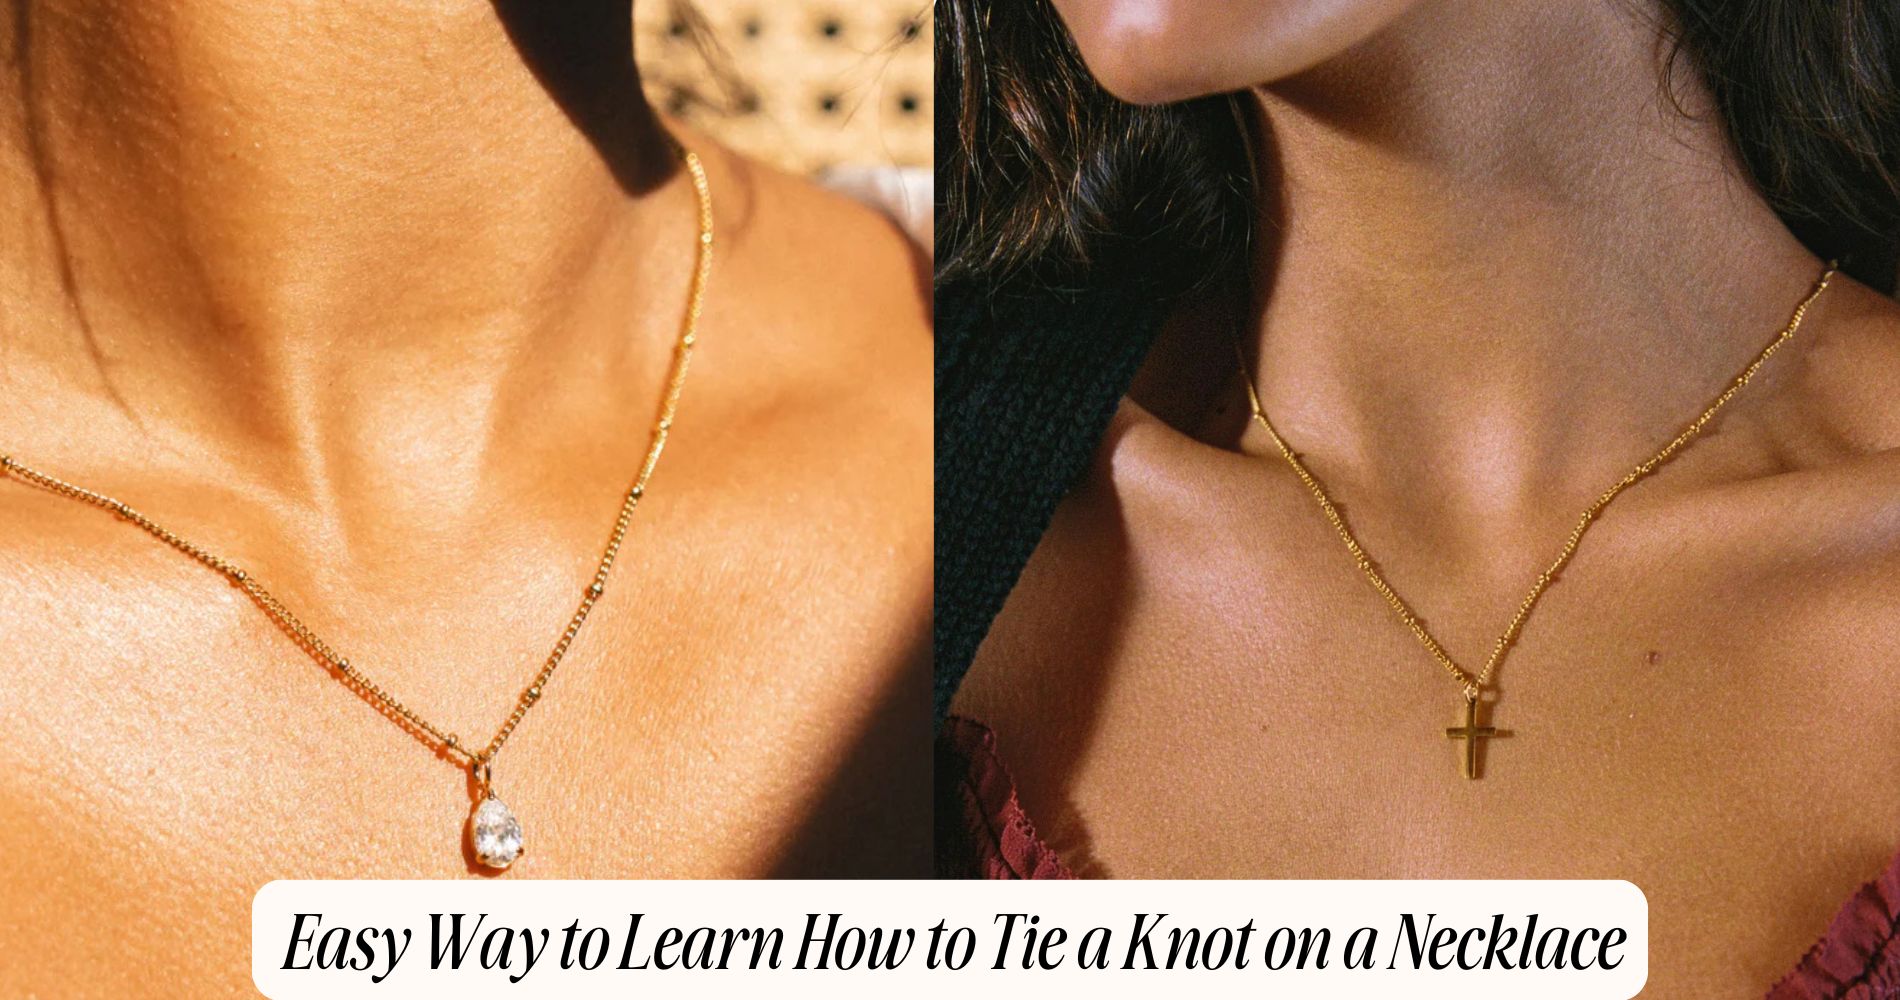
Easy Way to Learn How to Tie a Knot on a Necklace
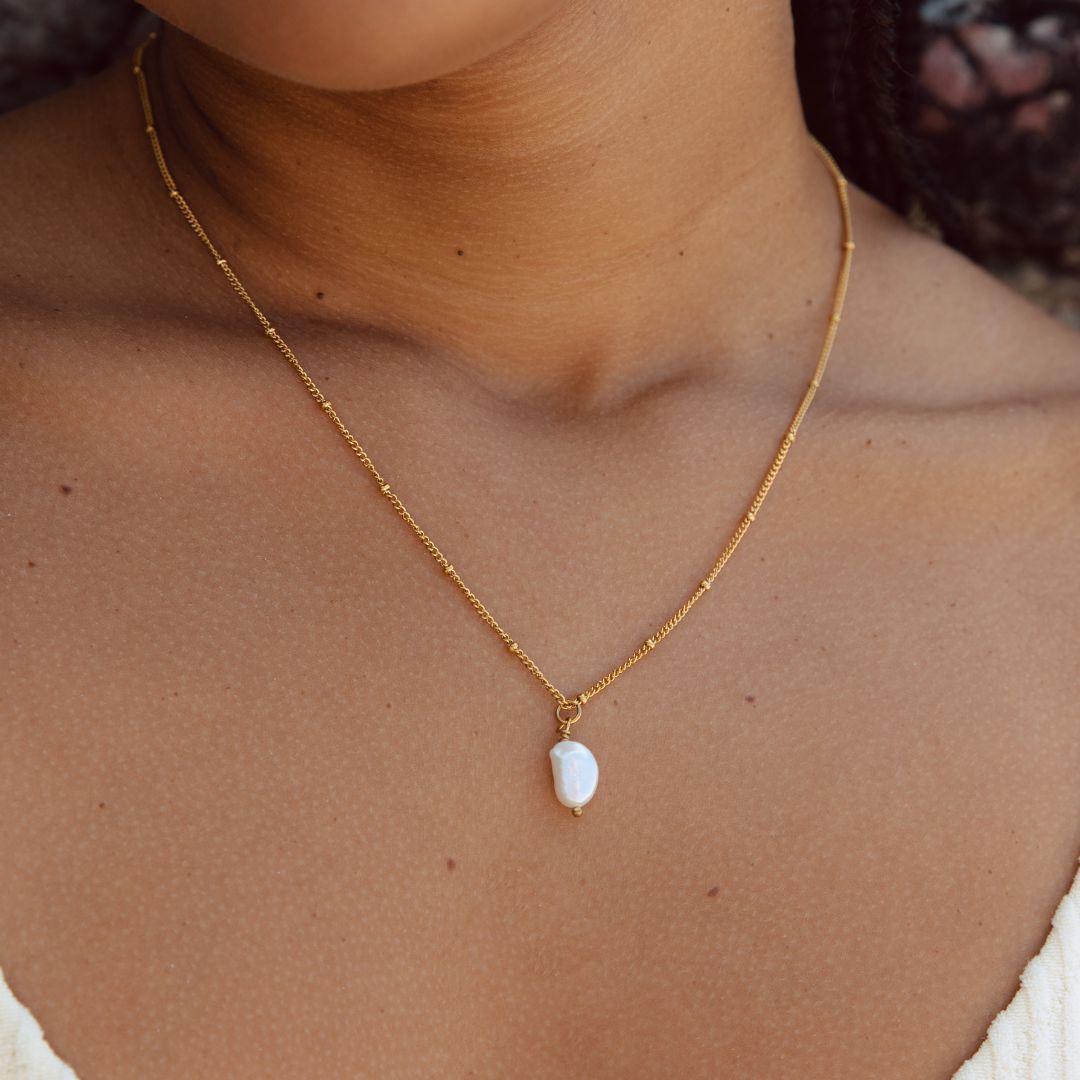
Learning how to tie a knot on a necklace starts with choosing the right cord — silk for pearls or nylon for everyday wear — sized to fill 60–80% of the bead hole. Lay your beads on a mat, clamp one end, and practice a controlled overhand: form a loop, pass the tag once, then slide the knot tight to the bead with an awl. For extra security, try a surgeon’s knot with a double first wrap. Finish with crimps or jewelry cement, trim neatly with flush cutters, and you’ll be ready to craft elegant pieces like those in our Long Pendant Necklace collection.
Essential Tools and Materials
Precision starts with the right kit: lay out your necklace cord (silk, nylon, leather, or wire), appropriate needle (beading or collapsible-eye for fine cords), and cutting tool (flush cutters for wire, sharp scissors for fiber).
Add bead stoppers or clamps to prevent slippage while you practice knotting techniques. Keep chain-nose pliers, tweezers, and an awl handy; these jewelry tools refine tight spaces, tease knots into position, and open crimps cleanly.
Use a measuring tape, ruler, and fine-tip marker to set consistent intervals. A bead board or non-slip mat stabilizes your layout.

For secure finishes, include crimp tubes, crimp covers, and a reliable adhesive for thread ends. A thread conditioner reduces fray and tangles.
Finally, a lighter or thread burner seals synthetic fibers neatly.
Choosing the Right Cord and Beads
Sometimes the best knot starts with the smartest pairing: match cord material and diameter to your bead hole size, weight, and finish. Assess cord types first.
Silk drapes beautifully for pearls and small gemstone rondelles; nylon or poly cord resists fray and suits daily wear; waxed cotton holds structure; leather adds grip for larger beads; stainless cable handles heavy focal pieces.
Check bead sizes with calipers, then test-fit cord through the holes plus a threader if needed. Aim for 60–80% hole fill so knots seat cleanly without slipping.
For abrasive stones, choose braided synthetics; for smooth glass, silk works. Pre-stretch elastic to prevent sag. If using tiny holes, step down cord and add grommet beads.
Always sample: string three beads, knot, and stress-test.
Basic Overhand Knot Step by Step
One reliable way to anchor your strand is with a clean overhand knot, formed close to the last bead without crushing it.
Thread a stopper bead if needed, then slide your focal bead into position.
Make a small loop by crossing the working end over the standing line. Pinch the crossover with flat-nose pliers to control size.
Pass the tag end through the loop once—no twists.
Tighten gradually: pull both ends evenly while nudging the knot toward the bead with an awl.

Check for symmetry; a lopsided loop weakens many knot types.
Pre-stretch nylon; slightly moisten silk so fibers seat smoothly.
Inspect for gaps, then set the knot with a firm draw.
In knot history, the overhand remains the foundational, reliable anchor.
Surgeon’s Knot for Extra Security
Although it builds on the overhand, the surgeon’s knot adds a second wrap in the first throw to lock tension and prevent slippage while you snug against beads.
Thread both ends, cross right over left, then wrap the right end twice through the loop. Hold steady to set initial knot tension without crushing delicate components. Complete with a standard opposite throw (left over right) to balance the knot.
Use smooth, non-fraying cord or nylon for consistent grip; wax lightly if the surface is slick.
Place the knot tight to bead tips or clamshells using chain-nose pliers as a blocker so the wraps seat cleanly. Test by pulling both strands evenly, then trim clean and seal with a micro-drop of flexible jewelry cement.
Among knot types, it’s the compact, reliable workhorse.
Sliding Knot for Adjustable Necklaces
After securing fixed knots like the surgeon’s knot, switch to a sliding knot when you want length adjustability without hardware.
Cut your cord to final length plus extra for knots. Cross the two tail ends so they overlap 3–4 inches. On the left tail, form a loop around the right cord, then wrap the tail around both strands 3–5 times, keeping coils neat. Feed the tail back through the loop toward the coils; snug evenly.
Repeat the mirror sequence on the right tail. Test the slide: pull both knots apart to lengthen, together to shorten.
Refine tension so coils grip yet move smoothly. Explore knot variations: add an extra wrap for slick cord, or a stopper bead between coils.
This technique suits adjustable designs and corded pendants.
Finishing Knots With Clasps and Crimps
For a polished, durable finish, pair your knots with the right hardware: clasps, jump rings, and crimps. Match knot types to clasp options and stringing materials.
For beading wire, use crimps: thread the wire through a crimp tube, a jump ring, then back through; snug, flatten with crimping pliers (first the notch, then the oval), trim, and add a crimp cover.

For cords, tie a double overhand or surgeon’s knot around a closed jump ring, add a dab of clear adhesive, and cinch tight.
Attach a lobster, spring ring, or toggle to the jump ring opposite your termination. Use split rings or soldered jump rings for heavy pendants.
Size components: 2x2 mm tubes for 0.018–0.024" wire; choose clasp metal to match chain and wear.
Tips to Make Knots Neat and Long-Lasting
Now that your clasps and crimps are secure, focus on habits that keep knots tidy and tough: pre-stretch cords, condition fibers (beeswax for silk/nylon, a light burnish for leather), and size the knot to the material.
Maintain consistent knot tension by pulling along the cord’s axis, not upward. Use flat-jaw nylon pliers to snug finishes without scuffing. For silk, add a tiny dab of clear, flexible cement at the seat, not the crown, to preserve knot aesthetics.
Moisten nylon before cinching; let friction do the locking. For leather, compress the knot with thumb and pliers, then allow it to set under light weight.
Trim tails with flush snips, leaving a hairline tag. Roll finished knots between fingers to round them and align grain.
Common Mistakes and How to Fix Them
Although knots seem simple, a few repeat errors sabotage strength and appearance—and each has a quick fix.
First, uneven tails cause slippage. Measure both ends, mark with a fine-tip pen, and trim only after seating the knot.
Second, crushing soft cord with pliers weakens fibers. Use nylon-jaw pliers or a knotting tool; press, don’t squeeze.
Third, inconsistent wraps create bulk. Count wraps out loud and mirror them on both sides.

Your biggest issue is fixing knot tension. Most common knotting errors come from pulling too fast or in the wrong direction.
Dress the knot: snug gradually, then pull along the knot’s axis, not perpendicular. Add a tiny drop of flexible jewelry cement, not superglue.
Finally, pre-stretch cord, condition with beeswax, and test by rolling the knot under a mat.
Frequently Asked Questions
How Do I Size a Necklace Accurately Before Tying Knots?
Measure your desired necklace length on a ruler or cutting mat, mark with tape. Use calipers for bead spacing, add clasp allowance, and test-fit with a flexible measuring tape. Verify with a neck mandrel, then secure temporary stops before knotting.
What Knot Styles Suit Different Necklace Aesthetics and Trends?
Choose knots by vibe: square knots suit bohemian styles; surgeon’s knots secure beads; sliding knots enable adjustable minimalism; overhand stopper knots frame pendants; pearl knots create elegant finishes. Use nylon or silk cord, calipers, knotting tweezers, and Fray Check.
Are There Hypoallergenic Cord Options for Sensitive Skin?
Yes—choose hypoallergenic materials like medical-grade silicone, PTFE, titanium wire, or PVD-coated stainless. For natural options, use bamboo cord or polished silk. Verify nickel-free specs, heat-seal synthetic ends, and test patches to monitor skin sensitivity before wearing.
How Do I Care for Knotted Necklaces During Cleaning and Storage?
Handle knotted necklaces gently: use soft brushes, mild soap, and lint-free cloths as primary cleaning techniques; avoid soaking. Dry thoroughly. For storage solutions, coil loosely, use anti-tarnish pouches, silica gel, and compartmented boxes to prevent abrasion, tangling, and moisture.
Can I Repair Stretched or Frayed Cord Without Restringing Entirely?
Yes, sometimes. For minor issues, try cord repair techniques: trim frays, seal with Fray Check or flame, add surgeon’s knot, dab epoxy, slide crimp covers. Quick fixes include heat‑shrink tubing, knot guards, or shortening and retying.
Conclusion
You’ve got the tools, techniques, and confidence to tie secure, professional knots. Start with quality cord, match bead hole sizes, and practice tension control. Use the overhand for basics, the surgeon’s when you need friction, and sliding knots for adjustability. Add clasps with crimps or wire guardians for durability. Pre-stretch cord, wax slippery fibers, and trim with flush cutters. When mistakes happen, unwind carefully, re-seat knots, and retest. With repetition, your knots will look cleaner and last longer.


コメントを書く
このサイトはhCaptchaによって保護されており、hCaptchaプライバシーポリシーおよび利用規約が適用されます。