How Do You Put Charms on a Charm Bracelet Without Tools
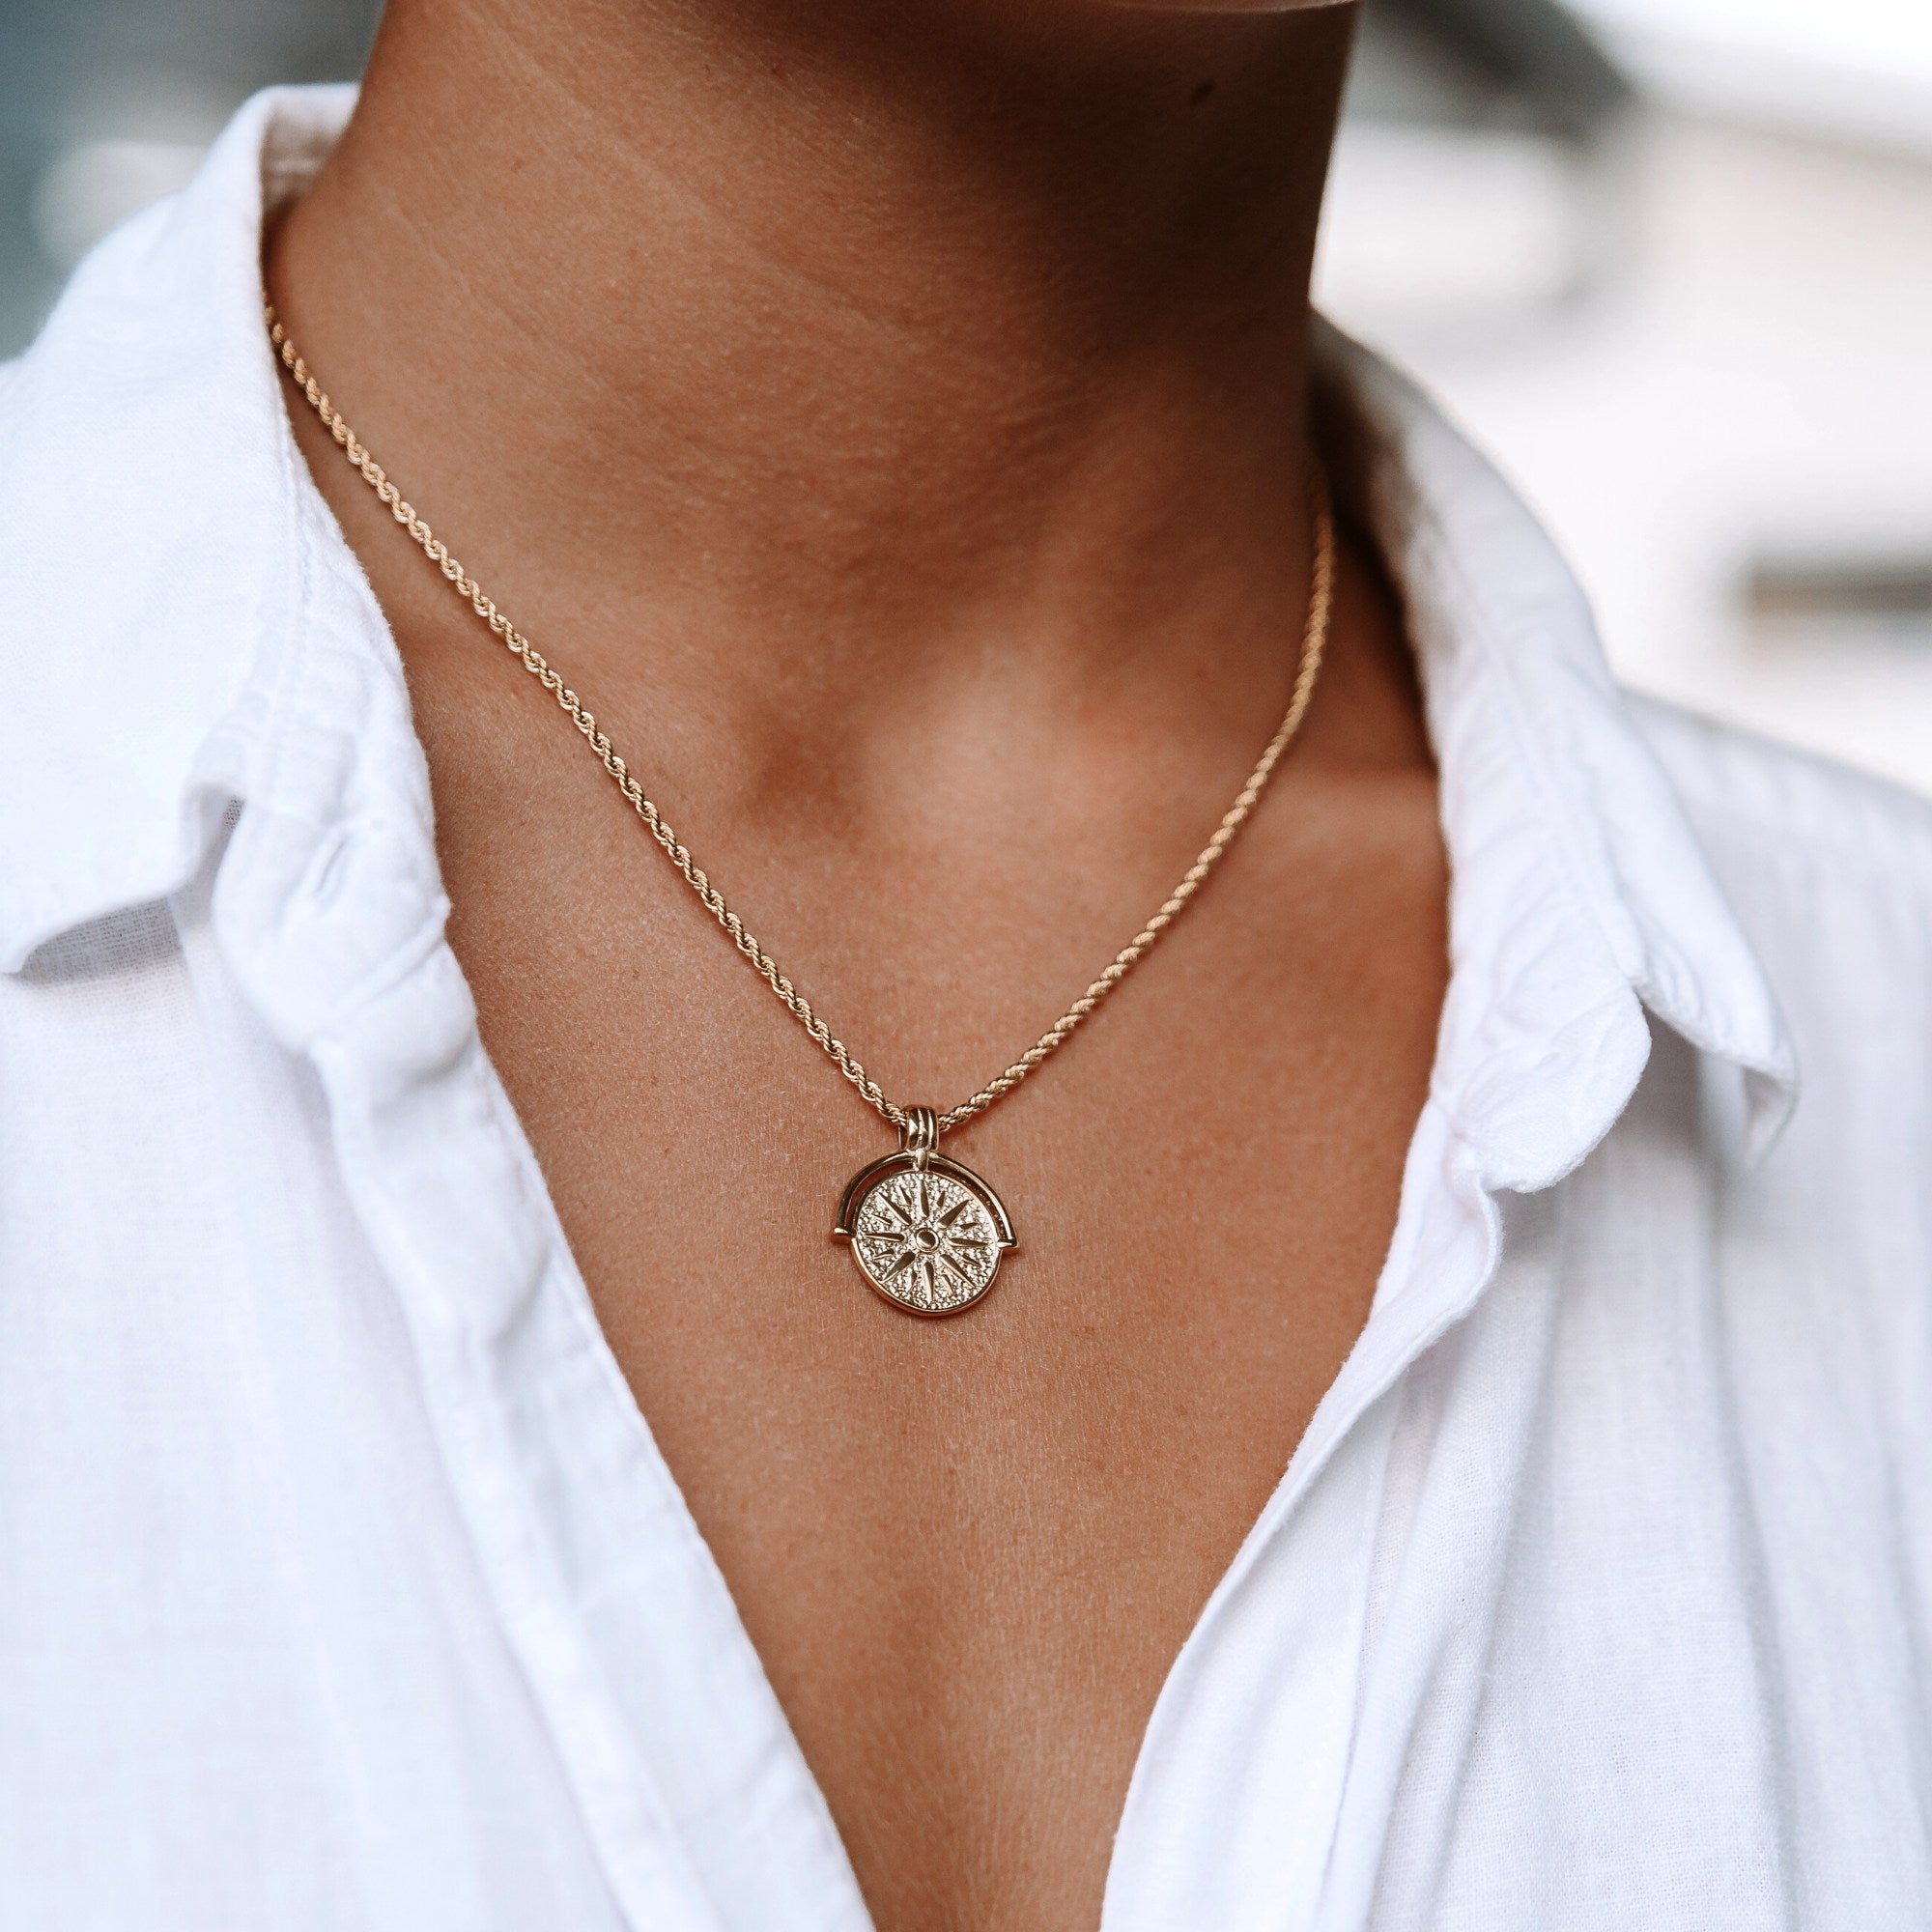
If you’re wondering how do you put charms on a charm bracelet, start by choosing clip-ons or snap/hinge connectors that match your link height and thickness so the gate clearance fits. For traditional jump rings, pinch at 10 and 2 o’clock, twist the ends past each other on a single plane, thread the link, then slightly overclose and counter-twist until the seam snaps flush. Simple tools like coins, a stiff card for torque, and a rubber grip for stability make the process easier. Finish by anchoring with silicone stoppers, spacing charms evenly, and managing weight—especially when styling pieces from our waterproof bracelet collection.
Choosing Tool-Free Charms and Closures
Before you buy charms, verify they use tool-free connectors compatible with your bracelet’s link size and shape. Measure inner link height and thickness; compare to the connector’s gate clearance and throat depth to guarantee snag-free passage.
Favor engineered snap, hinge, or slide locks with positive tactile feedback and audible clicks.
Select charm materials that match mechanical demands and finish durability. Stainless steel and titanium resist deformation; sterling silver offers aesthetic continuity but needs thicker gauges.
Evaluate closure designs for spring strength, latch geometry, and wear surfaces; look for rounded edges that won’t abrade links. Choose swiveling bails to control orientation and prevent torque loosening.

Standardize on one connector profile across charms to maintain consistent articulation, balanced spacing, and reliable one-handed attachment.
Finger Techniques for Opening and Securing Jump Rings
Master jump rings by stabilizing the ring at 10 and 2 o’clock between your thumb and index fingers, then twisting the cut ends past each other on a single plane—never prying them open. Align the split precisely at 12 o’clock so you can monitor the gap.
Use controlled micro-rotations: push with the right index finger, pull with the left thumb to open; reverse to close. Maintain axial alignment to prevent ovaling.
Thread the charm and bracelet link while the gap remains minimal. To secure, overclose slightly—bring the ends a hair past alignment—then counter-twist until the seam snaps flush.
Feel for a click and check with fingertip drag for burrs. These jump ring techniques rely on finger dexterity, steady pressure, and consistent plane control for a tight, durable join.
Household Stand-Ins: Cards, Coins, and Rubber Grips
Need a steadier grip without jewelry pliers? Use a stiff card edge, a coin pair, and rubber grips to control torque and alignment.
Pinch the jump ring’s sides with two coins, offset at 12 and 6 o’clock. Rotate one coin forward and the other back to open along the ring’s split, preventing ovaling. For finer rings, sandwich the ring’s shoulder with a folded credit card corner to distribute pressure and reduce marring.
Stabilize the bracelet with a rubber jar opener or a wide rubber band wrapped around a finger for traction.
Thread charms in sequence to test balance for creative charm arrangements. If using alternative charm materials like resin or wood, reduce torque and inspect for compression marks.
Close by reversing the rotation and aligning ends flush.
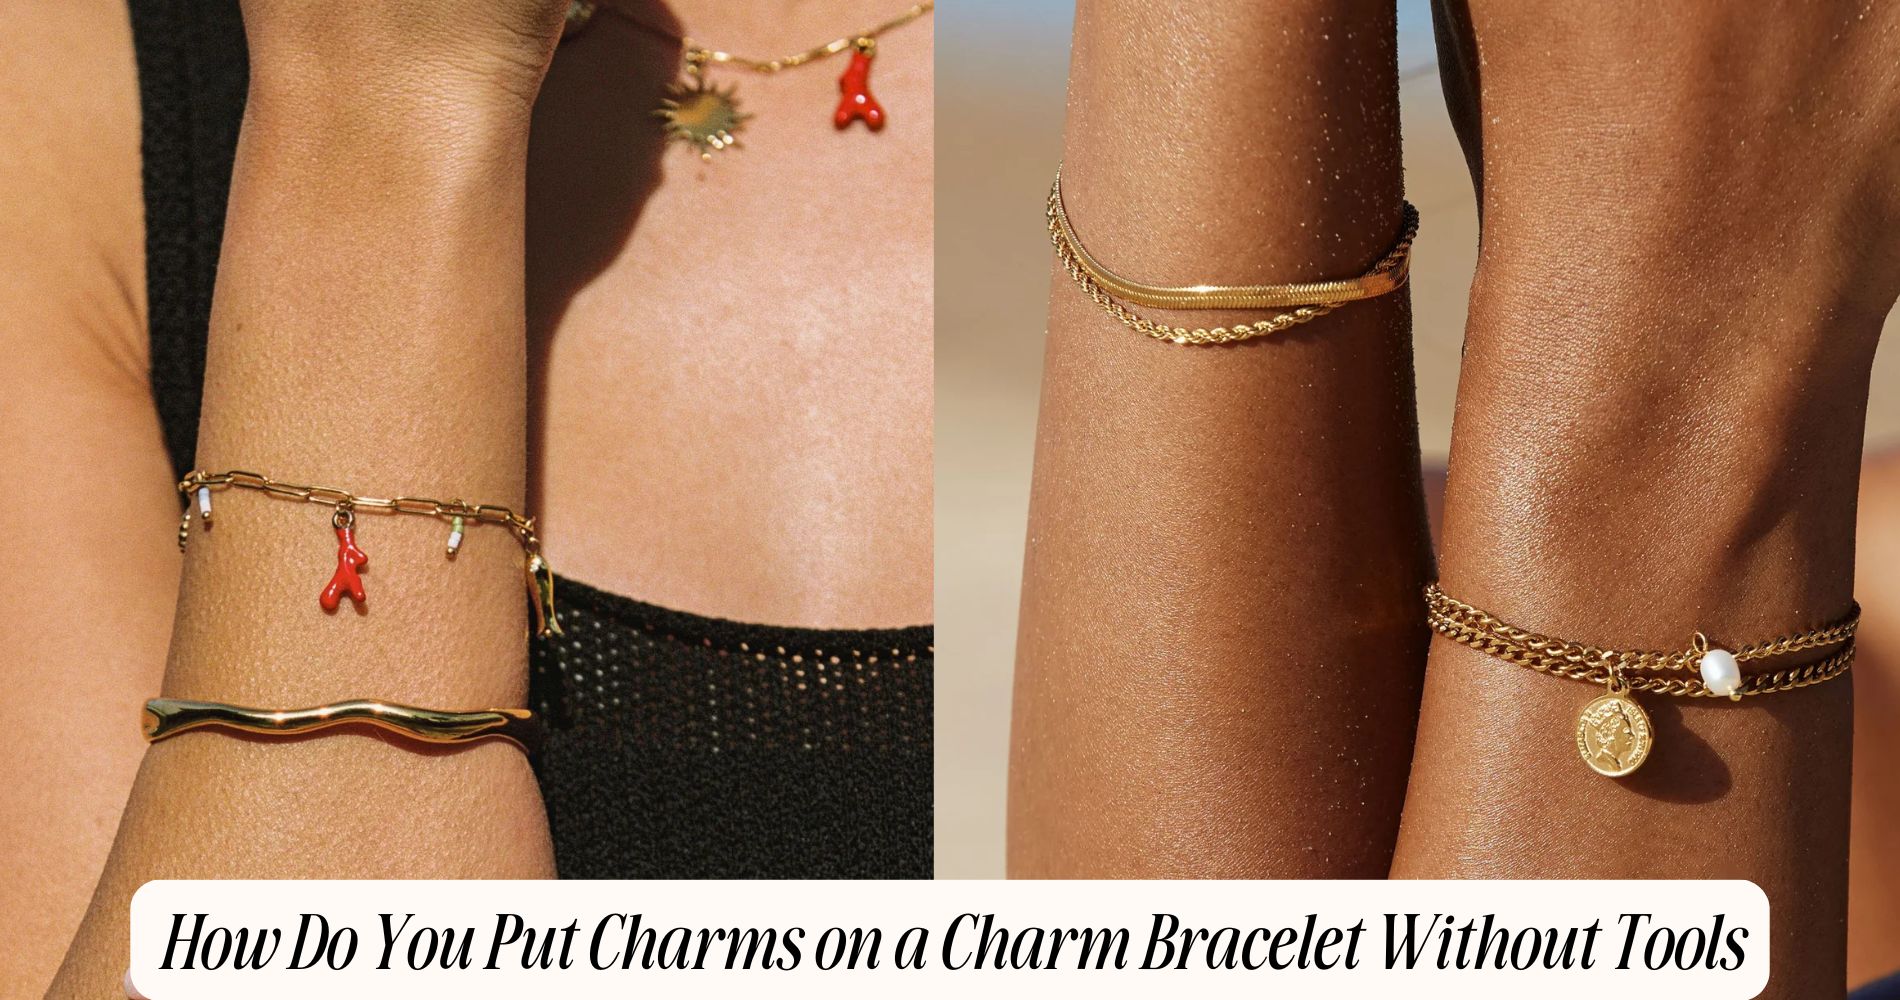
Sliding and Clip-On Charms for Fast Styling
Sliding and clip-on charms let you change layouts in seconds without tools, provided you match mechanisms to bracelet types. Use slide-on cores for snake chains with threaded or friction-fit sections; orient the charm’s bore to the chain, then advance smoothly over end caps or threads.
For box links or bangles, choose silicone-lined sliders that maintain position without hardware. Select clip-on charms with secure spring gates for cable chains and open links; attach at the thinnest section of a link to minimize wear.
Standardize diameters across charm bracelet styles to guarantee predictable fit. Pre-plan sequences on a flat surface to verify spacing and balance.

Stage designs in shallow trays or compartmented cases—reliable charm storage solutions prevent loss, mix-ups, and accidental drops during rapid swaps.
Securing, Spacing, and Preventing Scratches
With quick-swap charms sorted, focus on locking layouts that won’t shift or scuff under daily wear. Start by setting fixed “anchors” at each end: use silicone-lined stoppers or tight clip-ons to immobilize sections.
Build from heavy to light, placing weight closest to the clasp to reduce bounce. Maintain even spacing: leave a bead’s width between moving parts to prevent edge-to-edge abrasion.
Prioritize bracelet care by isolating abrasive finishes. Don’t let pavé, sharp corners, or dangles contact mirror-polished beads. Insert slim spacers or silicone rings as buffers.
For charm organization, group similar alloys; avoid mixing soft silver next to harder steel or enamel-heavy pieces. Check rotation weekly: spin each charm, confirm smooth travel, and reseat any that drifts.

Finish with a friction-fit end cap to lock your layout.
Frequently Asked Questions
How Do I Choose the Right Bracelet Size for Multiple Charms?
Choose a size 1–2 cm longer than your measuring wrist circumference to accommodate charms. Reference standard charm bracelet sizes, consider charm thickness, clasp bulk, and preferred drape. Test-fit with spacers; guarantee comfortable movement without excessive rotation or pinching.
Are Certain Metals Safer for Sensitive Skin or Allergies?
Yes. You should choose hypoallergenic materials such as surgical stainless steel (316L/316LVM), titanium grade 2 or 5, niobium, and 14k–18k gold or platinum. Avoid nickel-plated alloys; nickel sensitivity commonly triggers contact dermatitis and delayed hypersensitivity.
How Do I Clean and Polish Charms Without Tools?
Use mild soap and warm water, then gently brush with a soft toothbrush. Rinse, pat dry. For polishing techniques, buff with a microfiber cloth. Avoid abrasives, ultrasonic cleaners, and ammonia. These cleaning methods preserve plating and gemstone settings.
What’s the Best Way to Store Charm Bracelets to Avoid Tangling?
Store bracelets individually in anti-tarnish pouches or rigid compartments to guarantee tangling prevention. Fasten clasps, lay bracelets flat or coil loosely. Use silica gel for humidity control. Prefer felt-lined storage solutions, avoid stacking, and label compartments for quick retrieval.
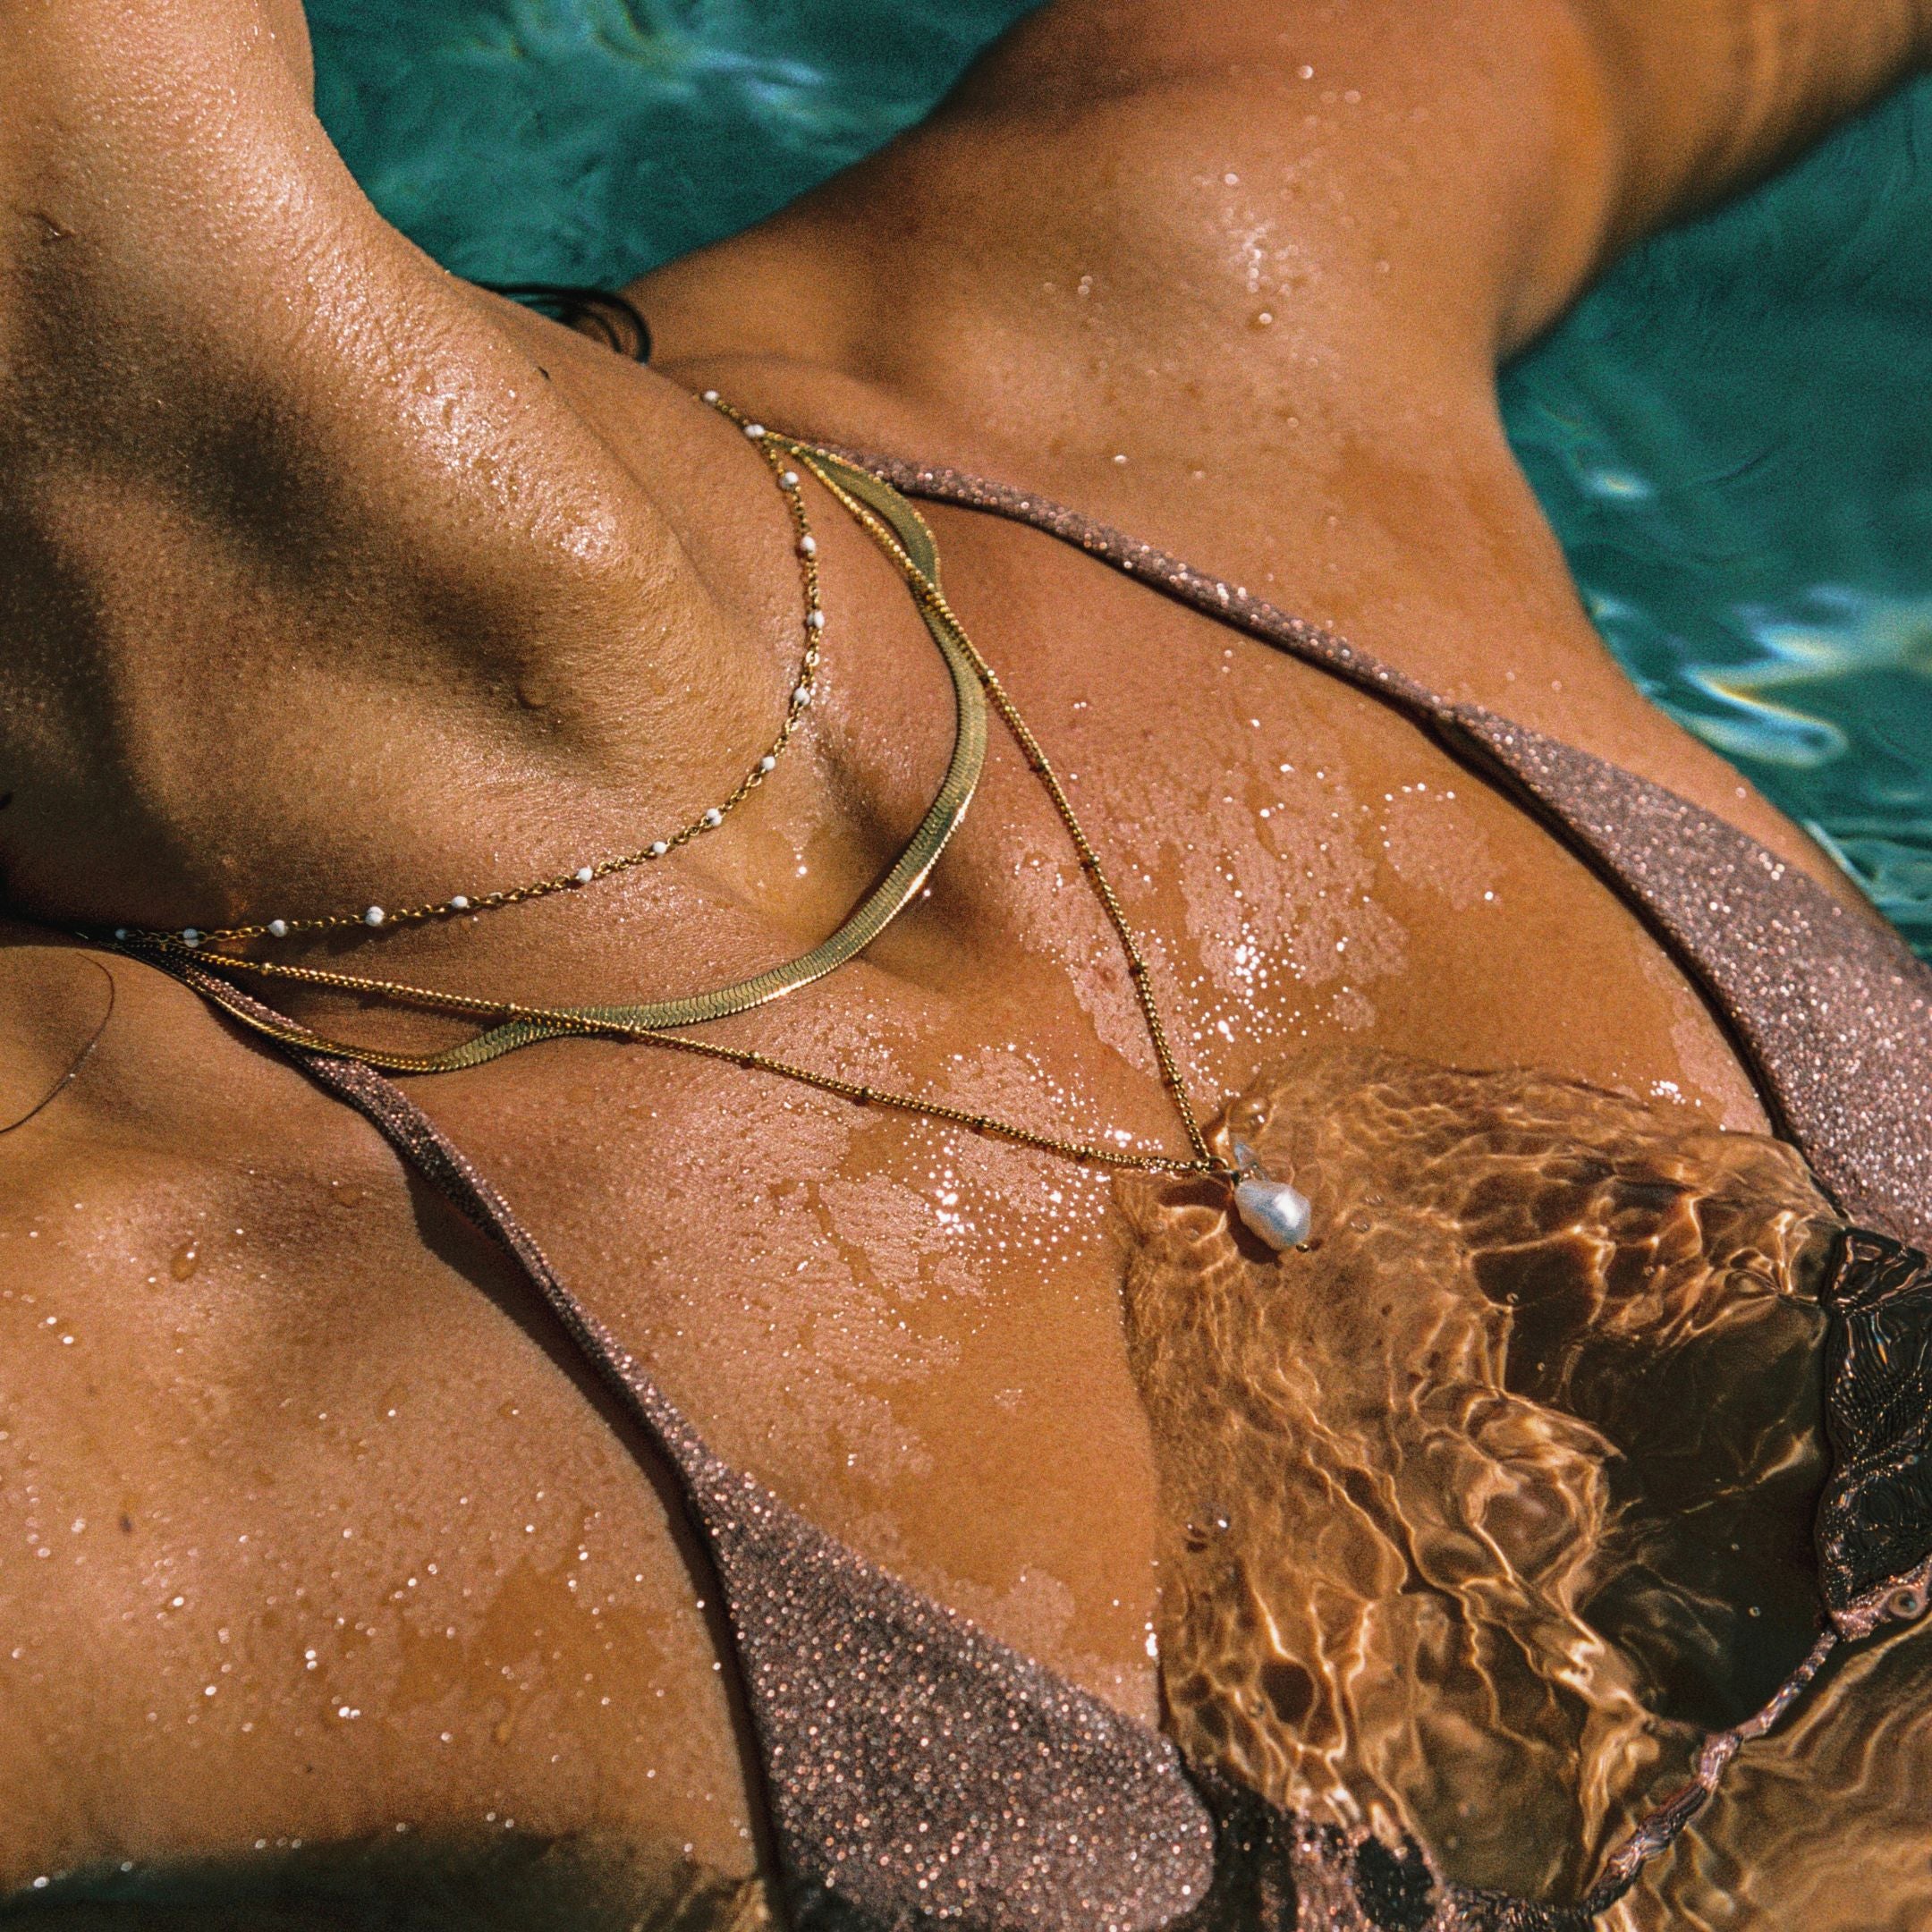
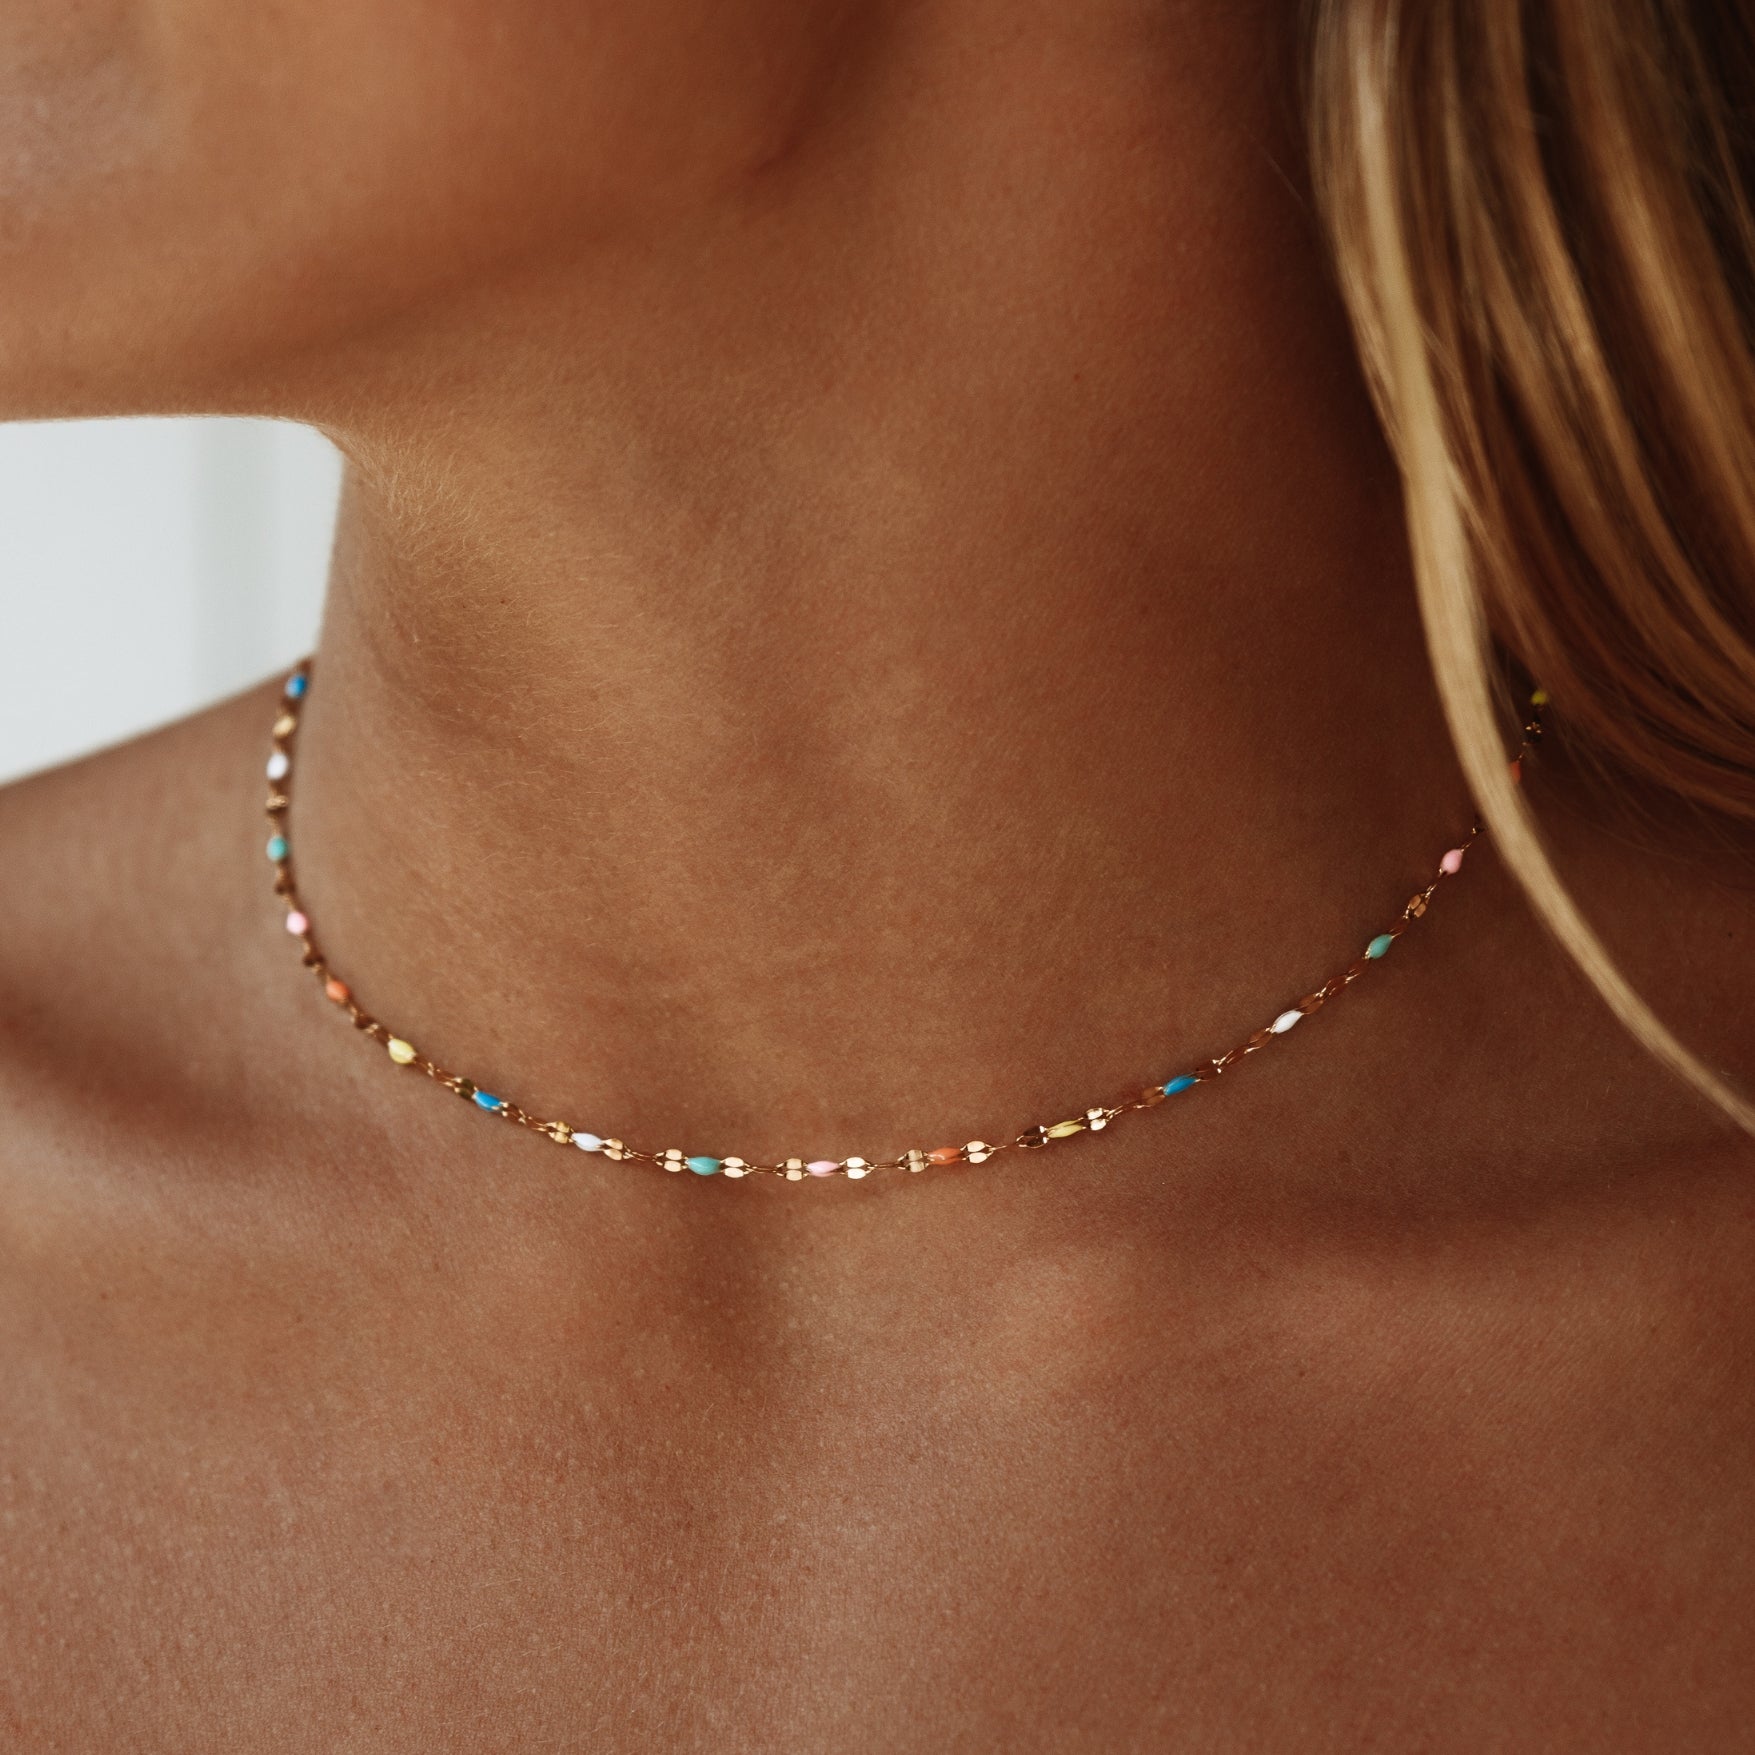
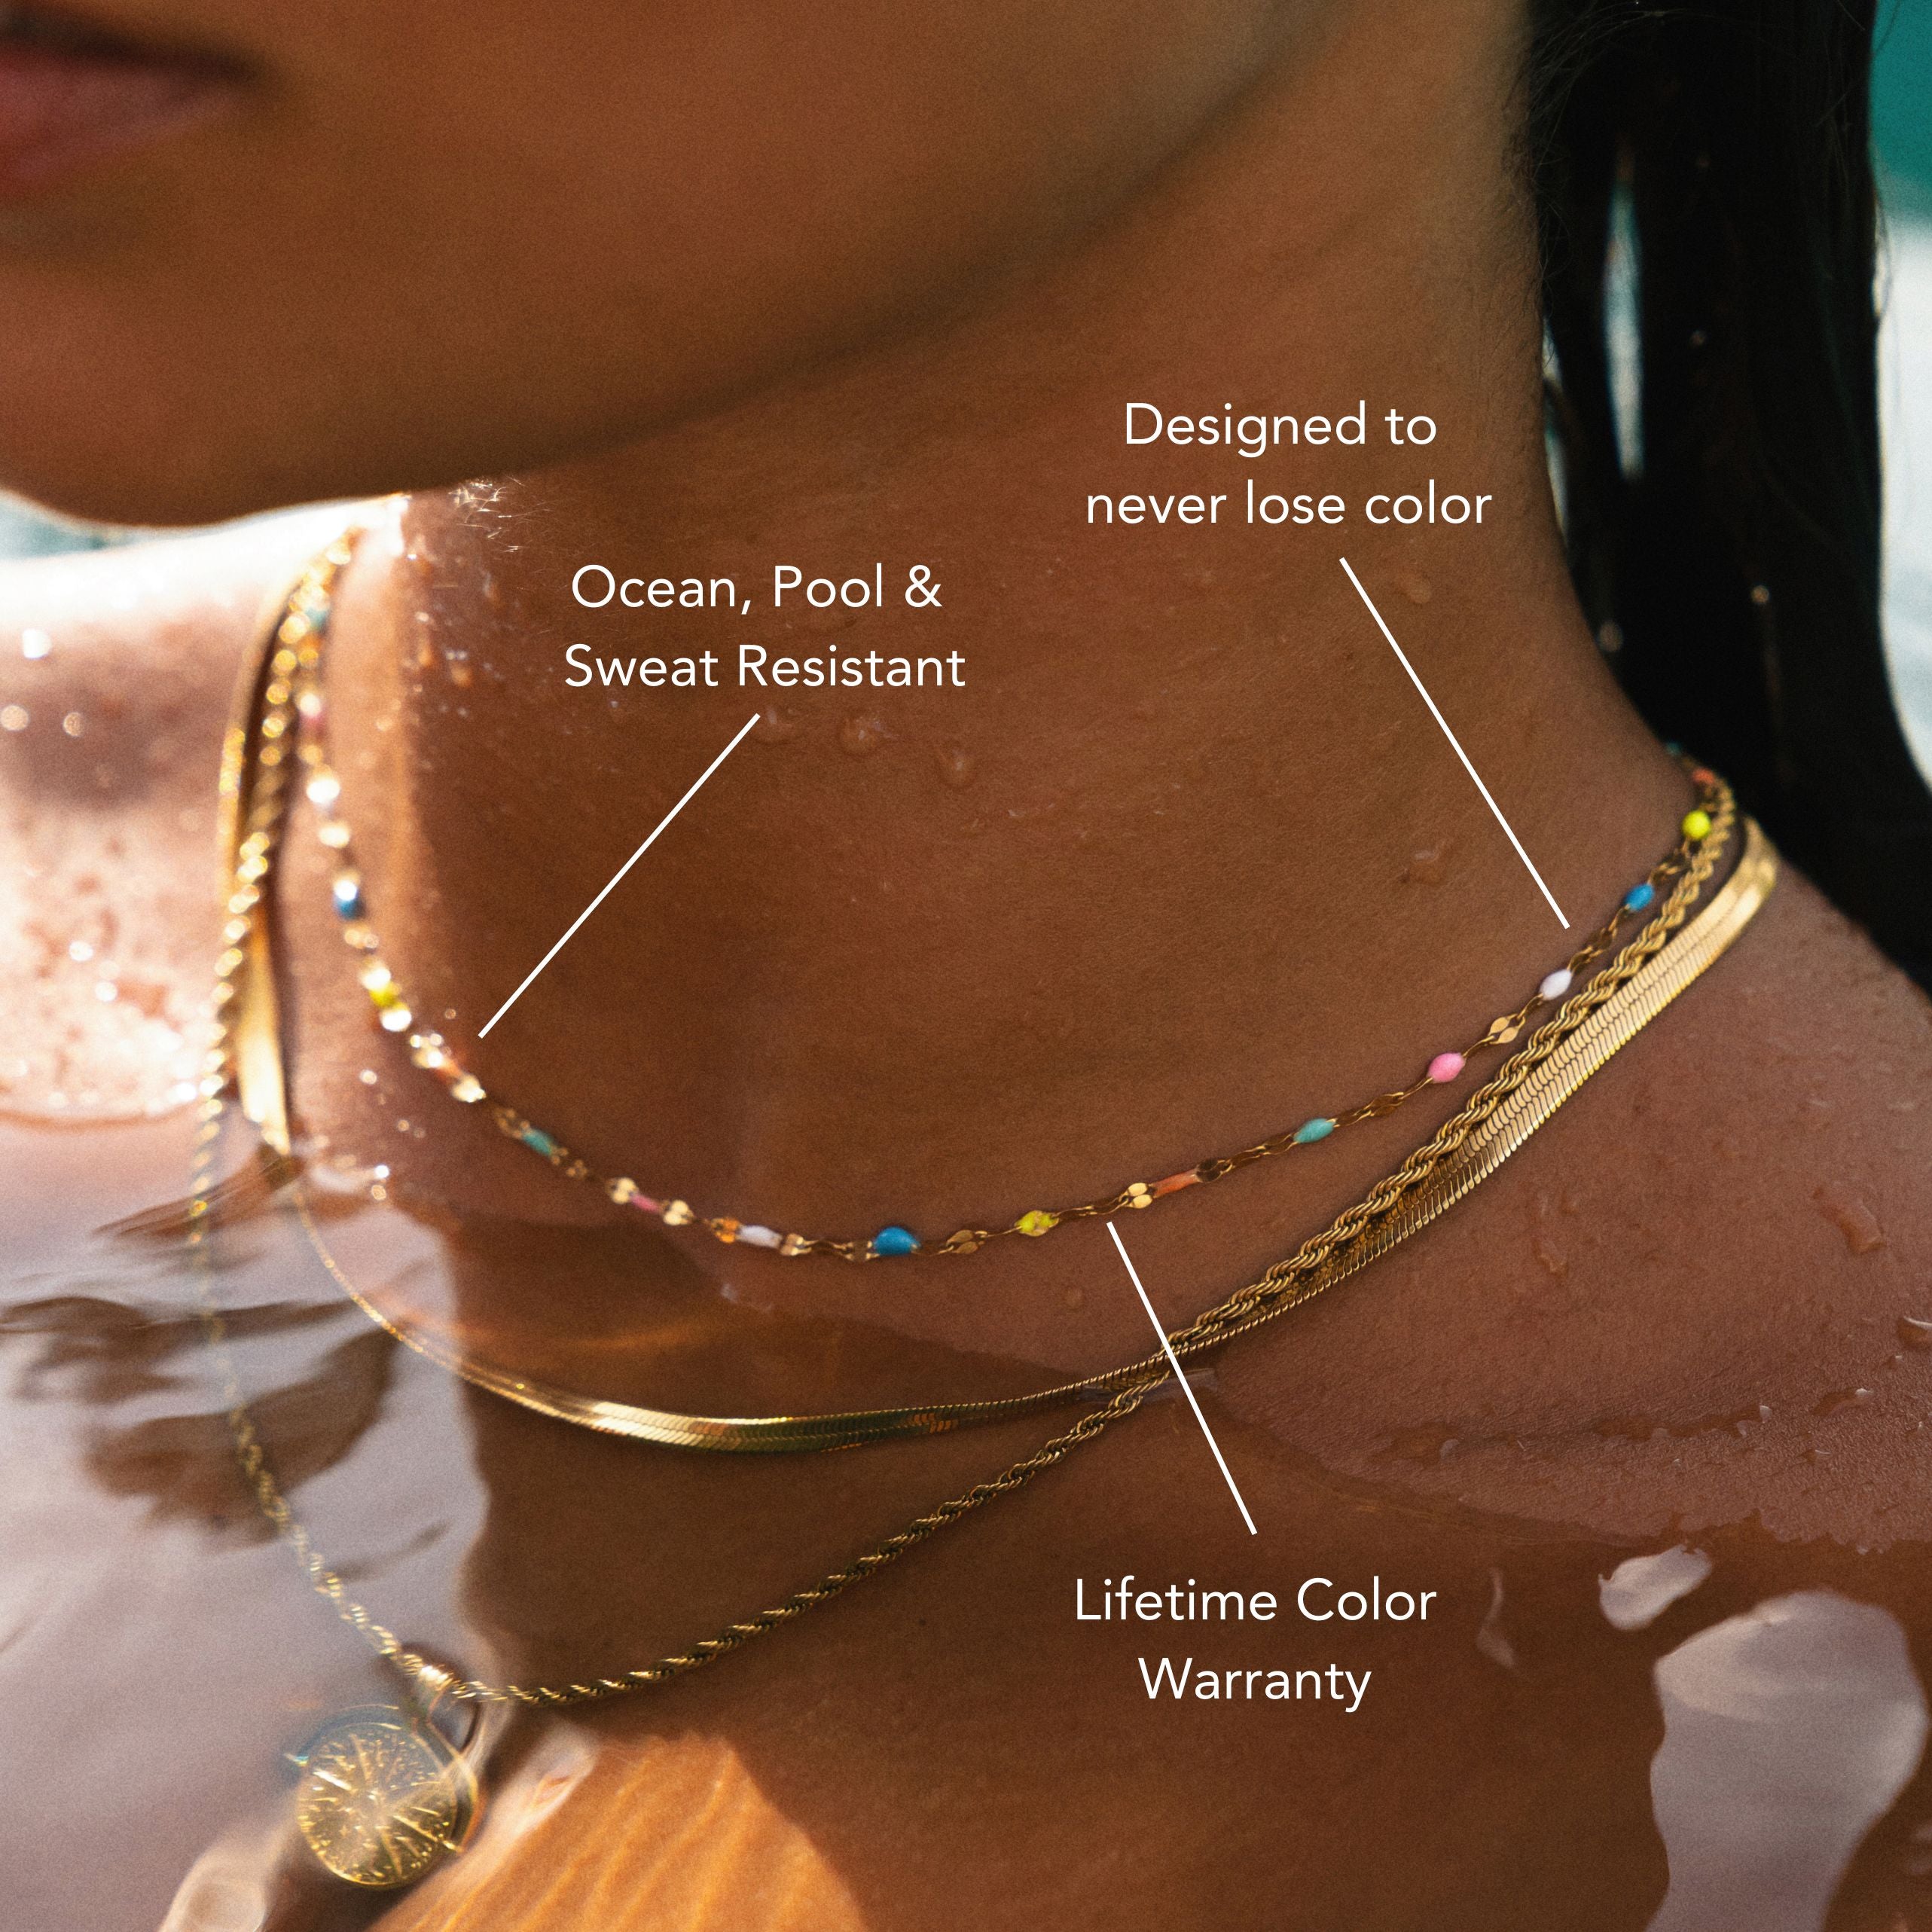
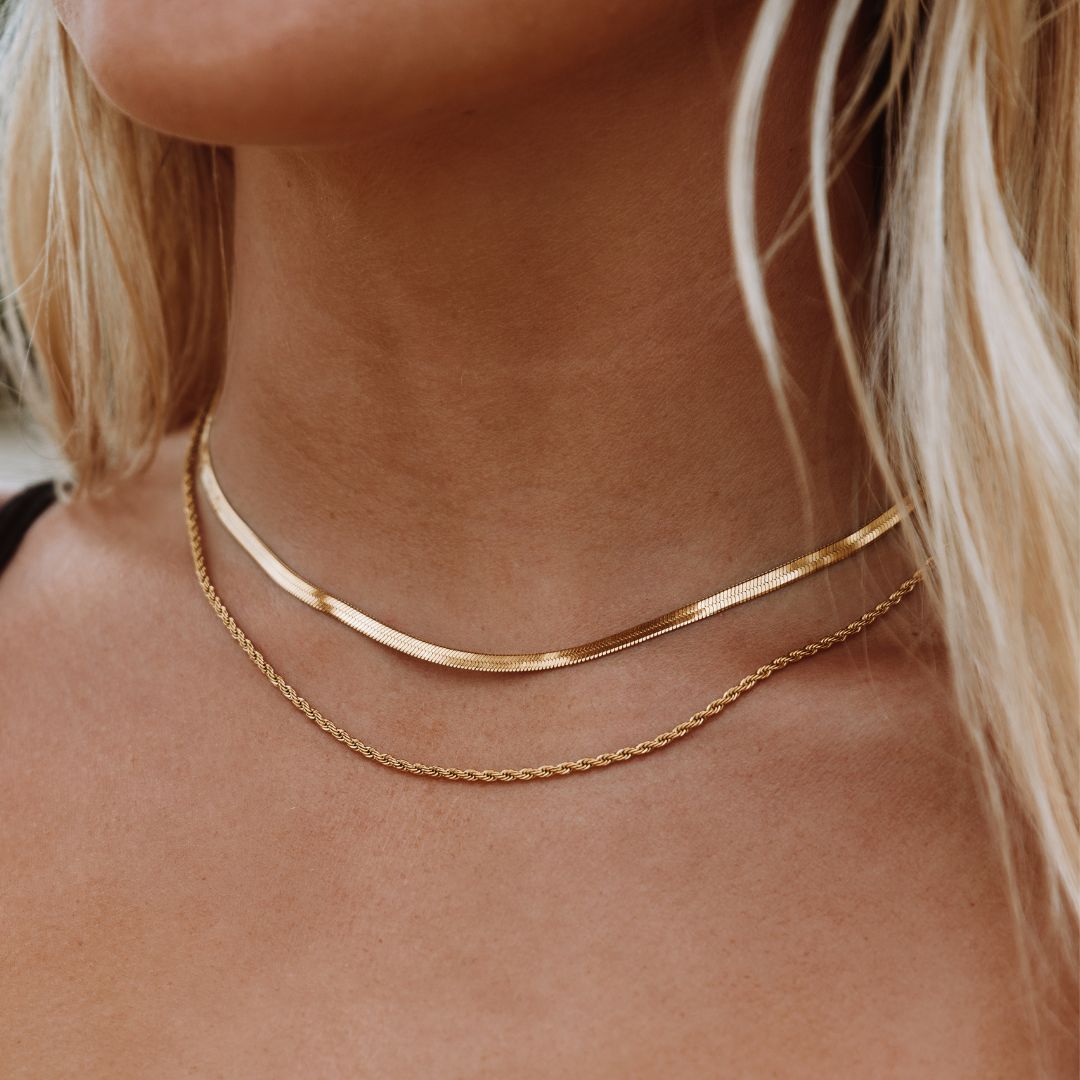
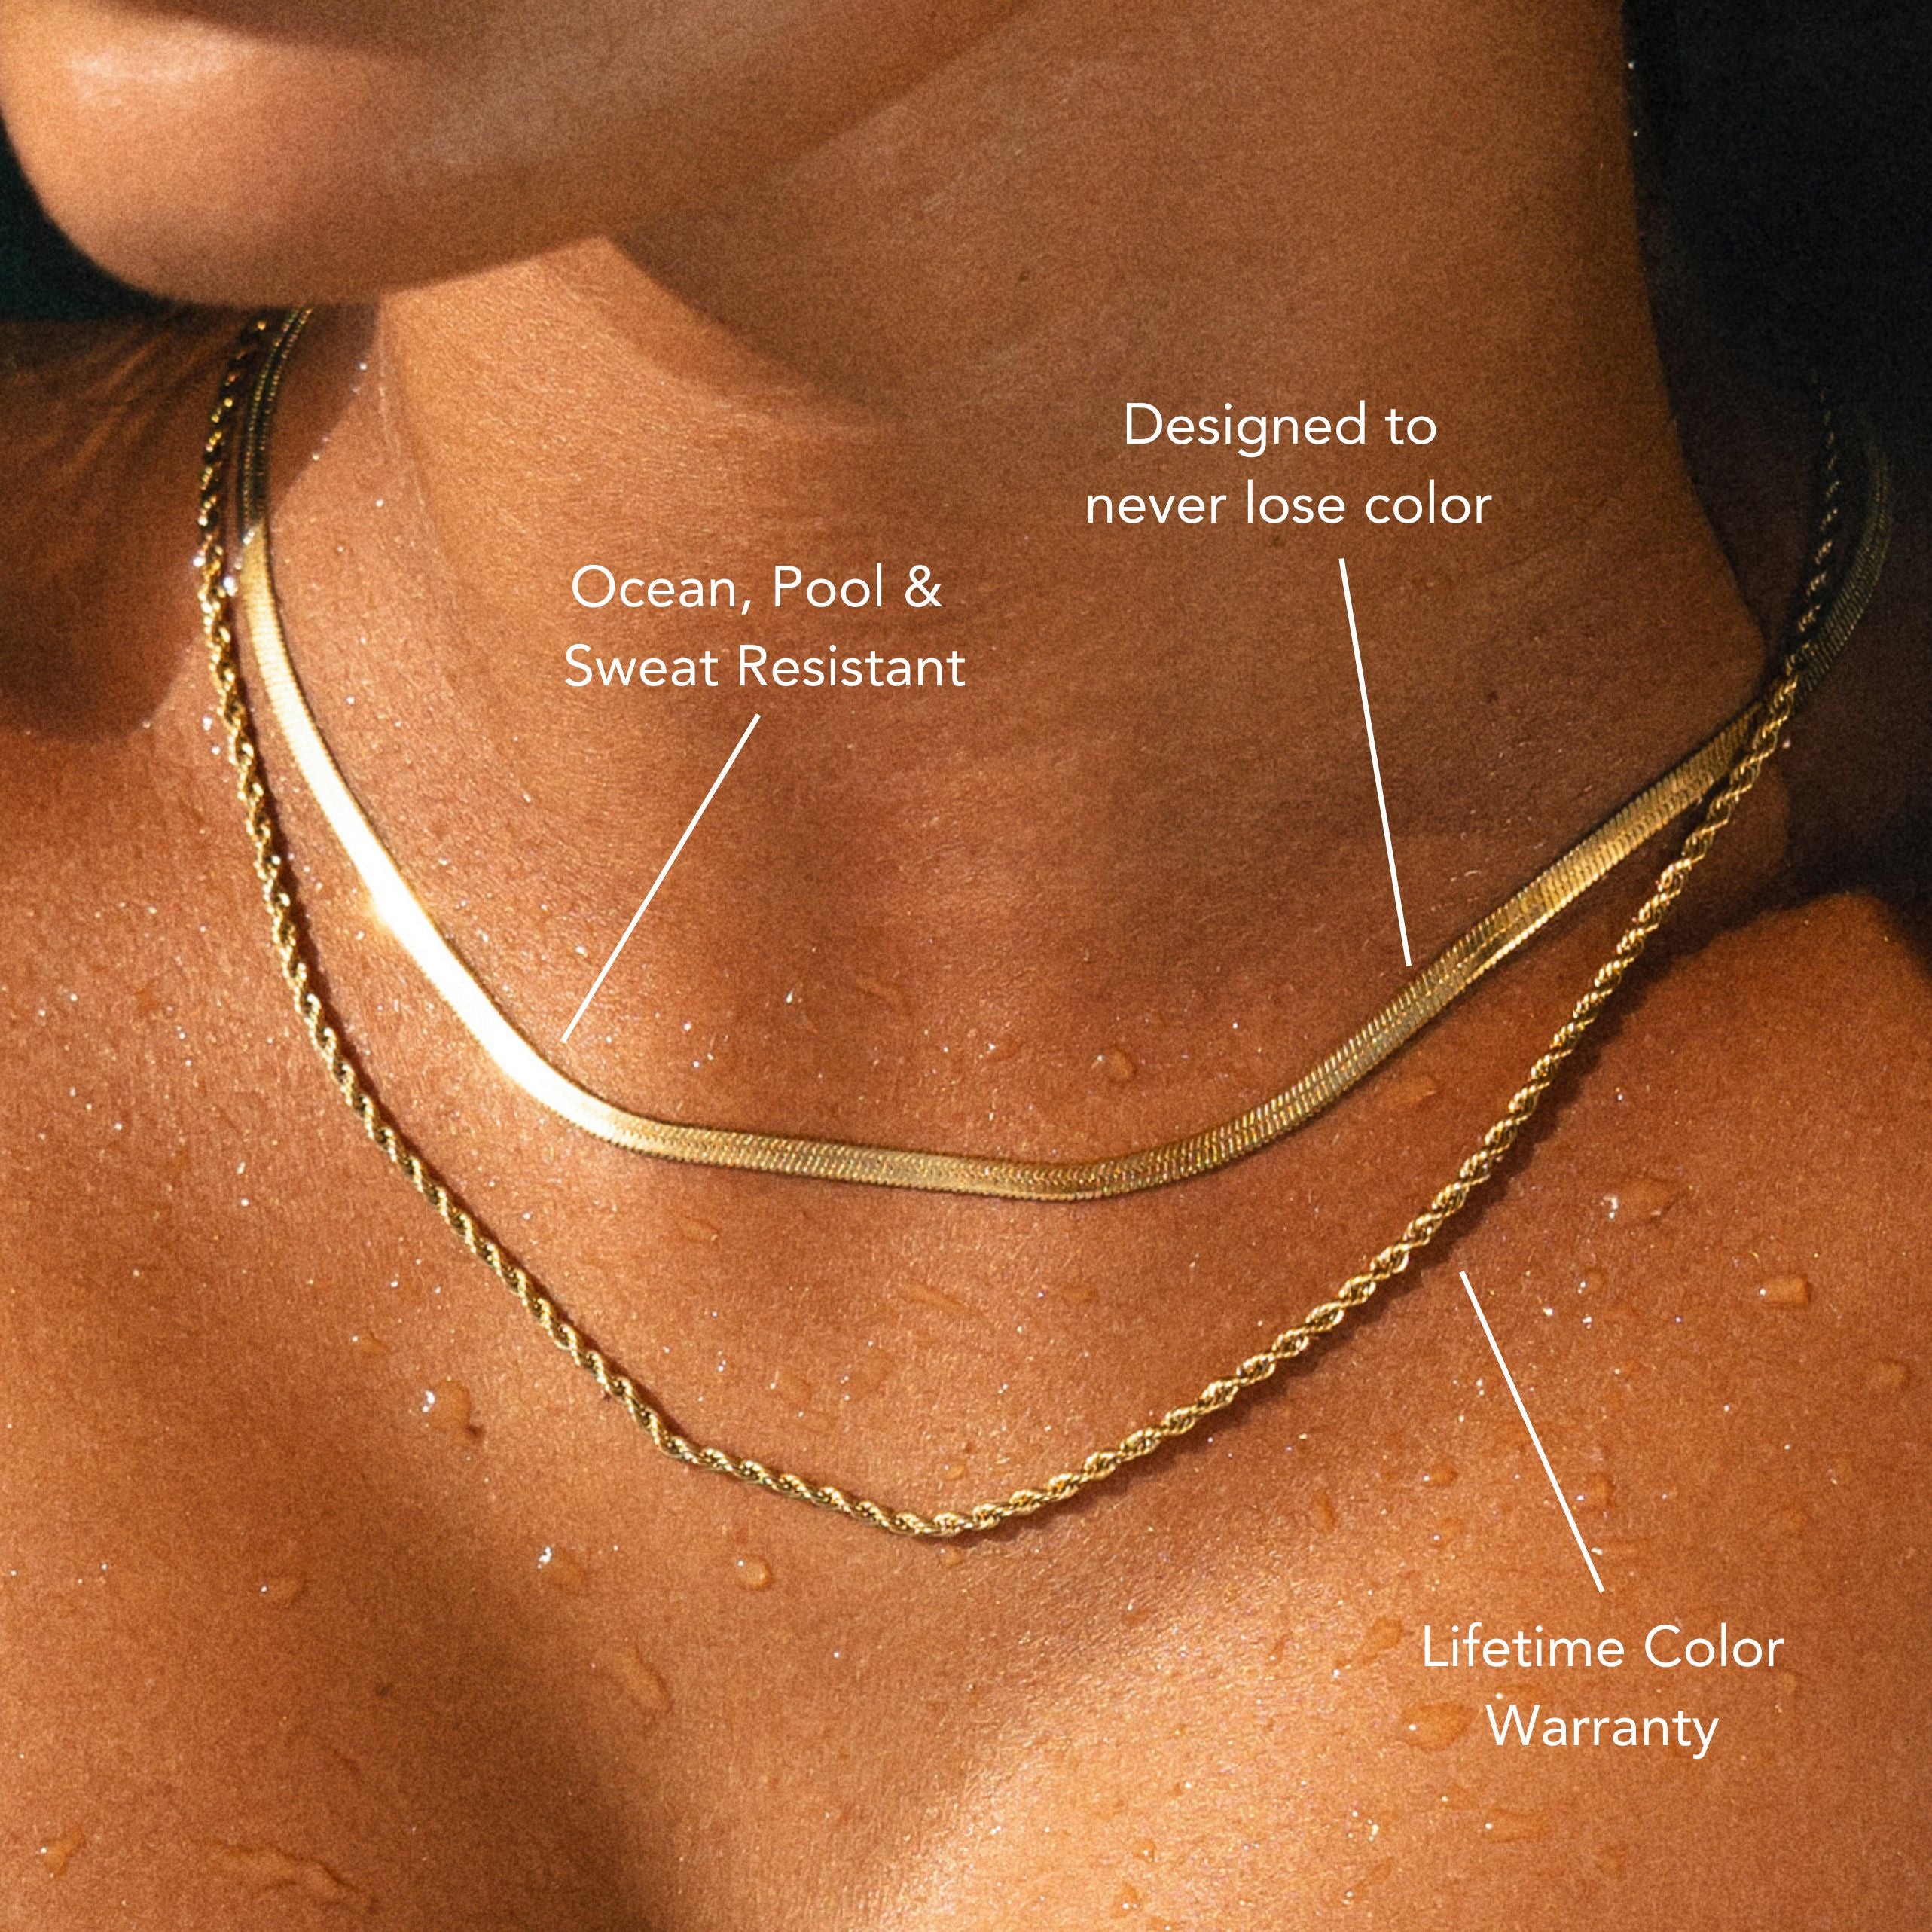
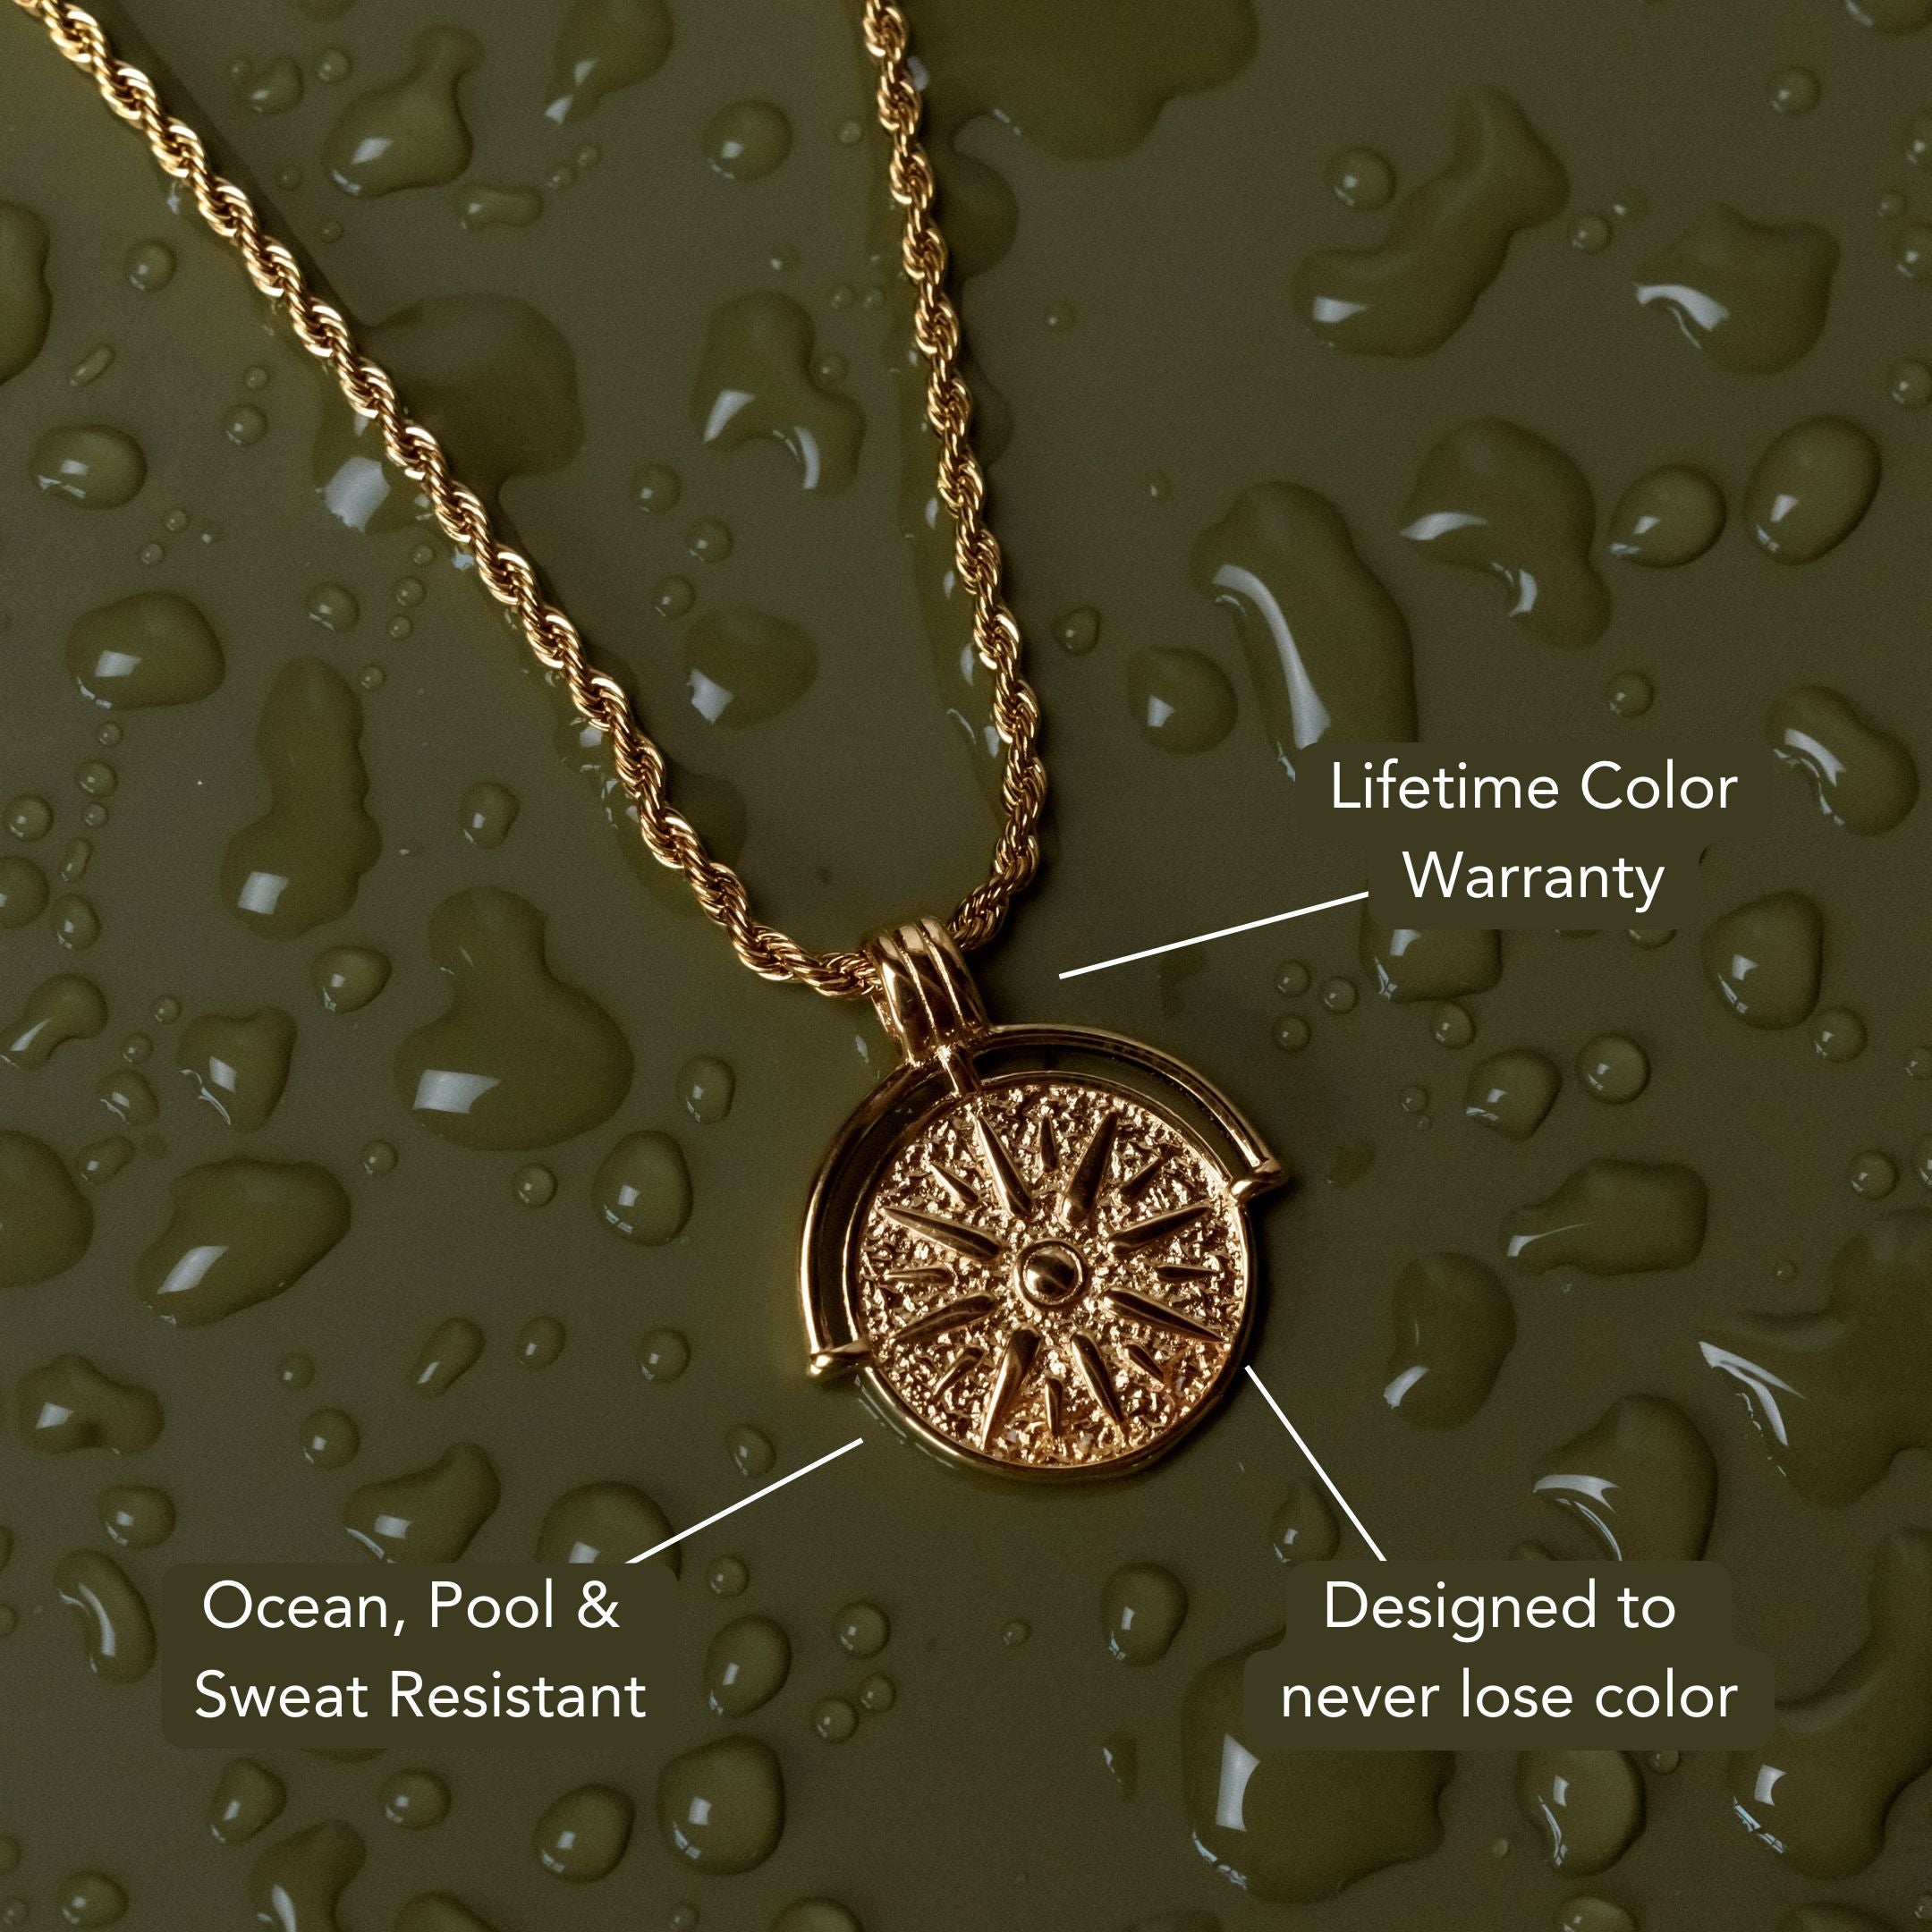
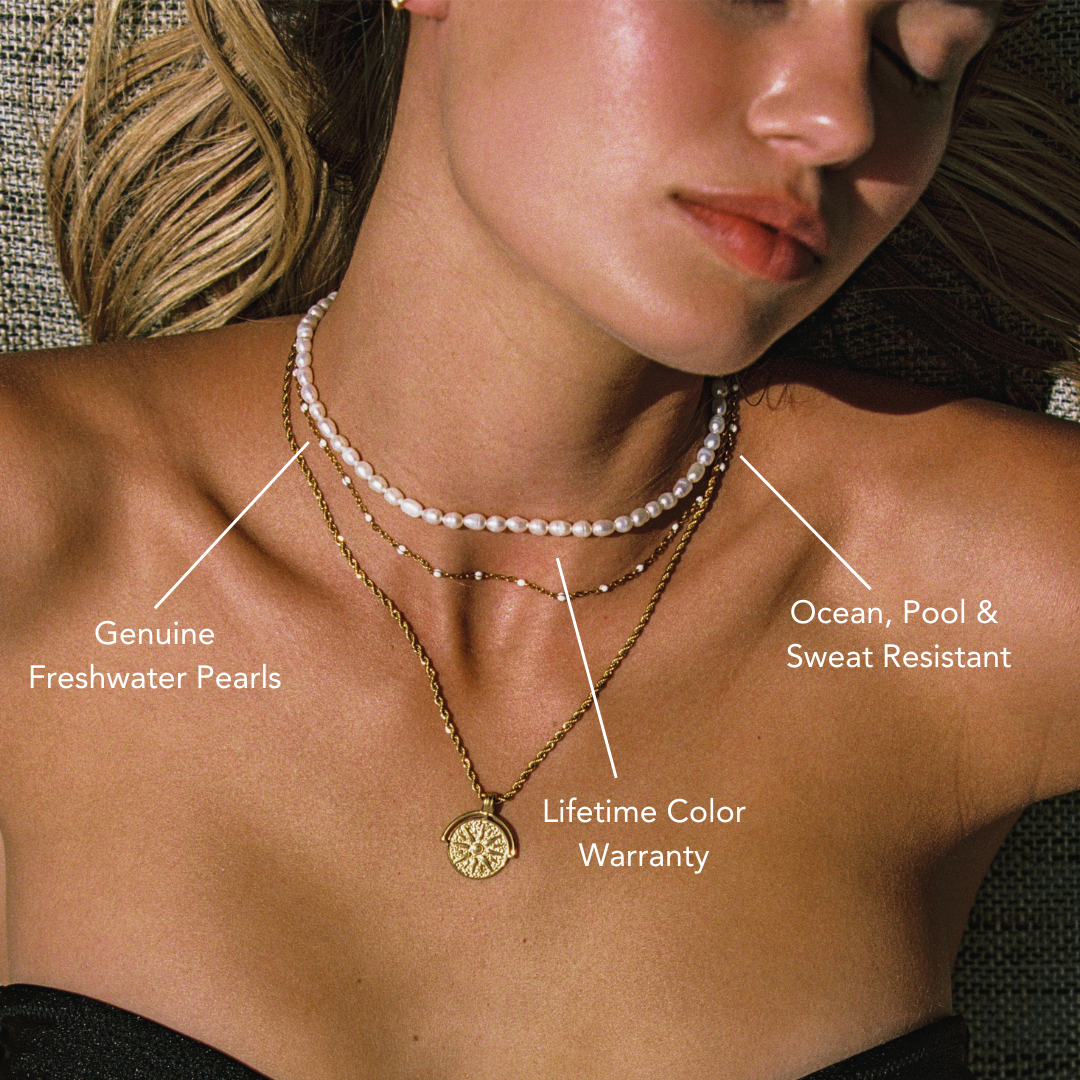
Can I Wear Charm Bracelets in Water Without Damage?
Yes, but expect trade-offs. Water exposure offers convenience and easy cleaning, but pros and cons vary by material. Gold tolerates moisture; sterling silver tarnishes; plated finishes wear; leather degrades. Rinse, dry thoroughly, and avoid chlorinated or saltwater.
Conclusion
You’ve got the method and materials to attach charms without tools. Choose split rings, clip-ons, or lever clasps for true tool-free swaps. Use fingertip leverage to open jump rings minimally; stabilize with a card edge, coin, or rubber grip for traction. Slide and clip charms strategically, spacing by weight and movement. Seat closures fully, orient charms face-forward, and test with a gentle tug. Finish by buffering contact points to prevent scratches and recheck security after the first wear.


コメントを書く
このサイトはhCaptchaによって保護されており、hCaptchaプライバシーポリシーおよび利用規約が適用されます。